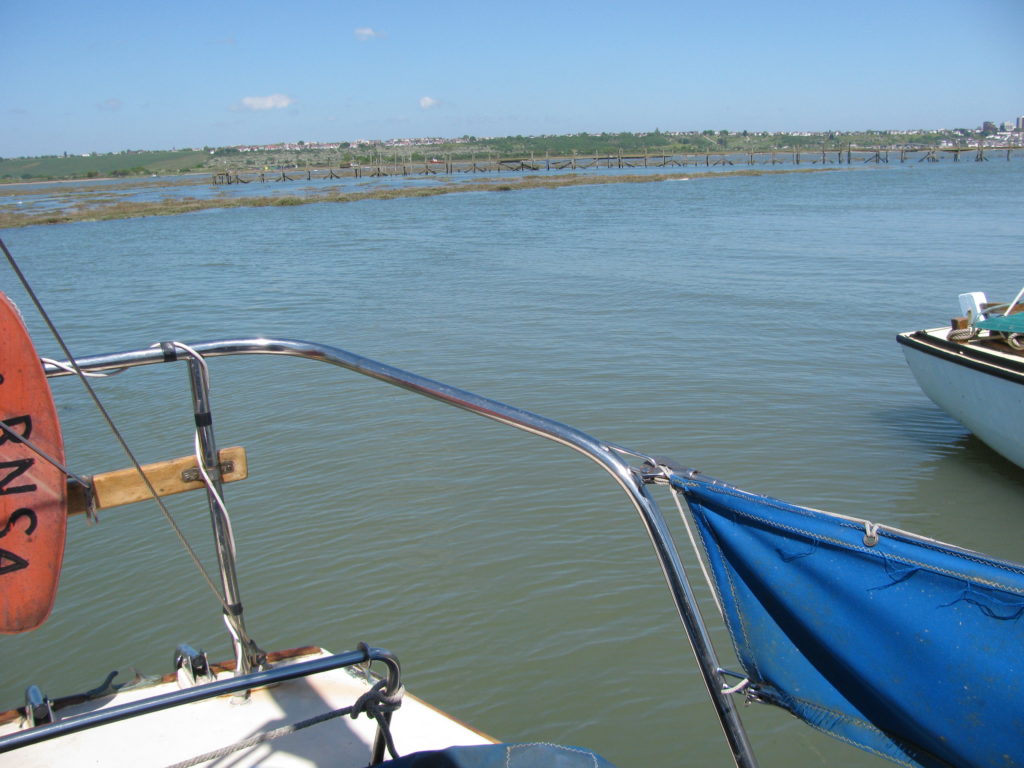
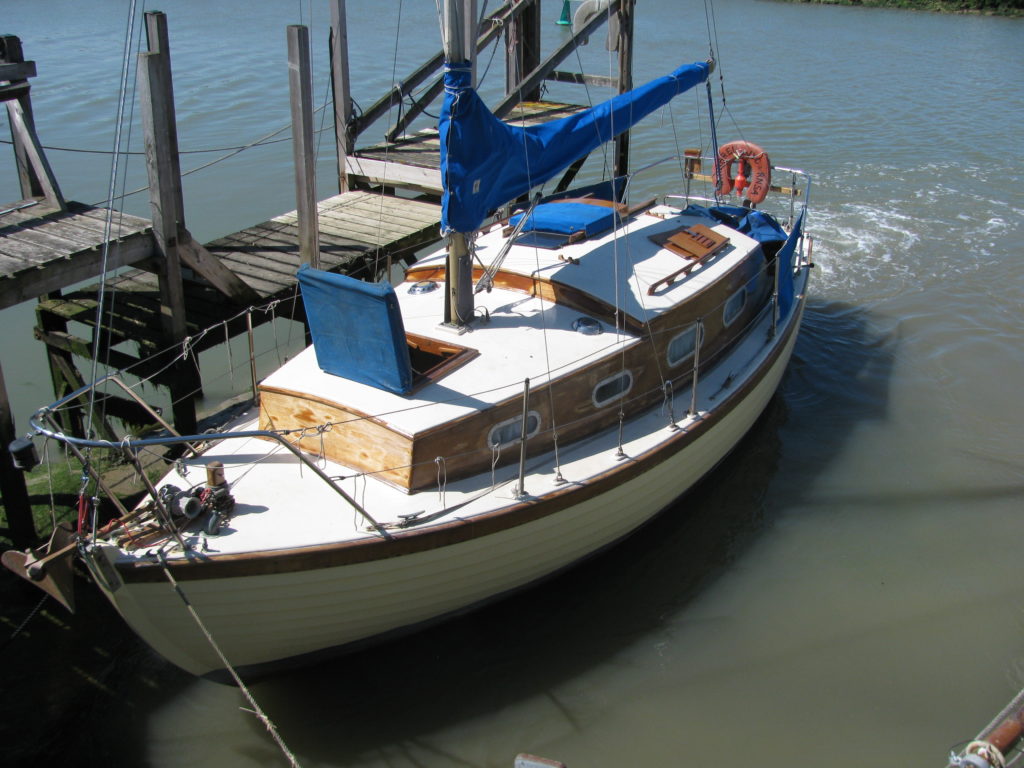
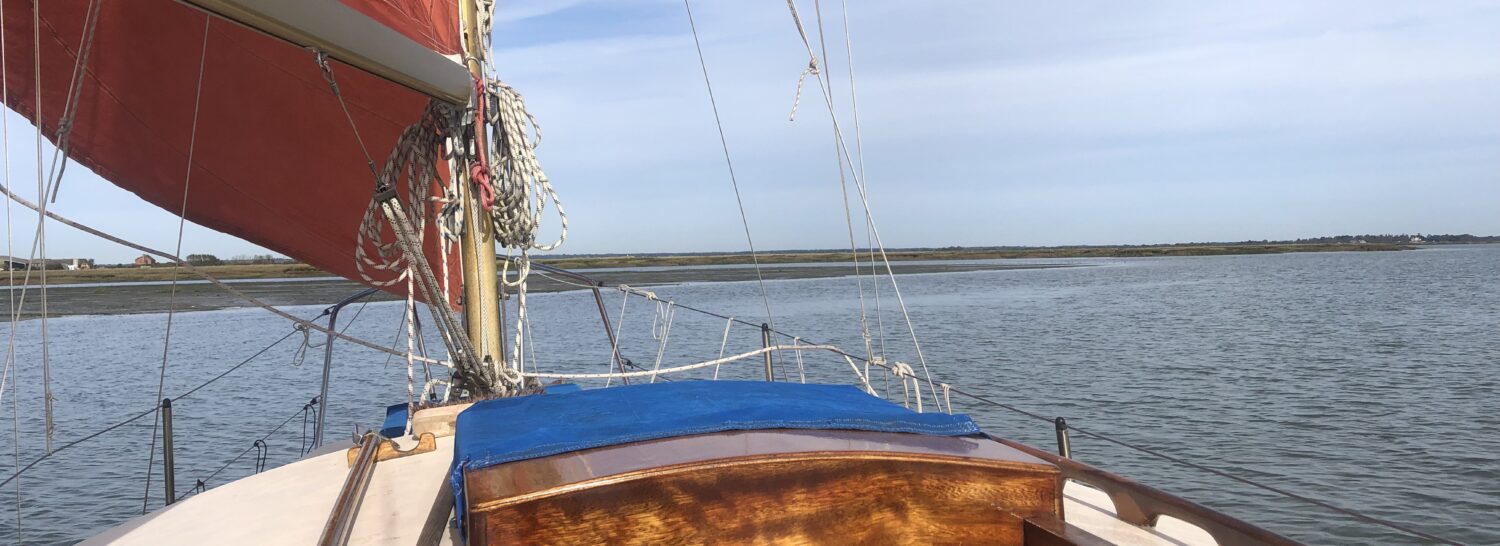
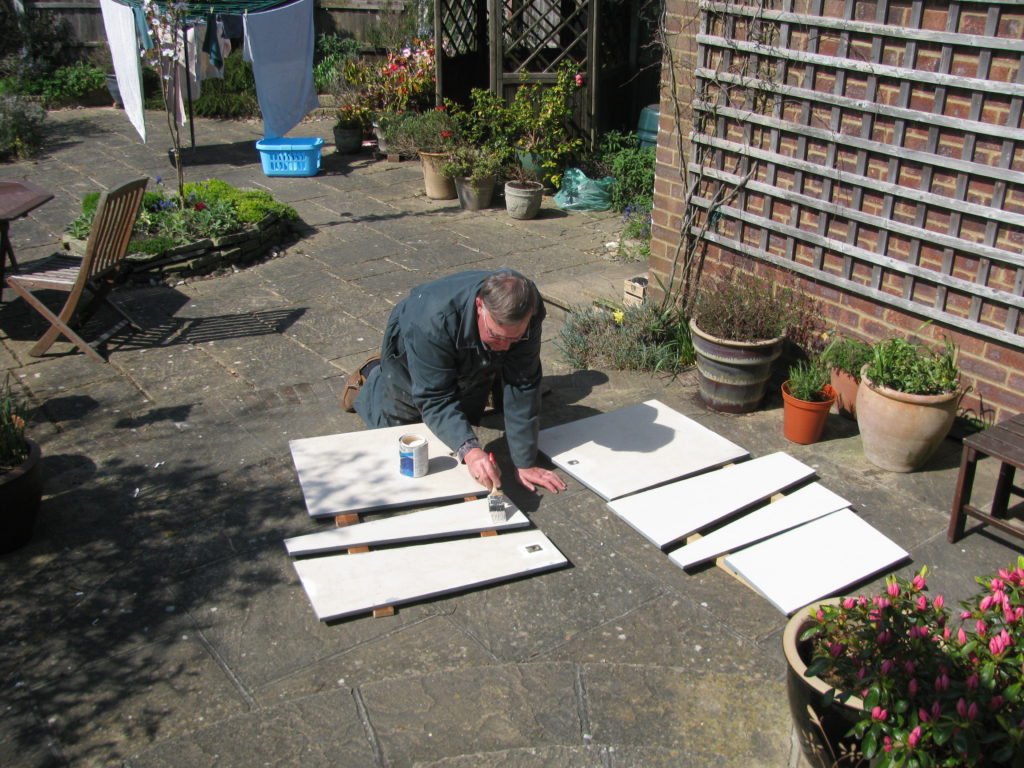
One of the first things I did when ‘locked down’ was to collect the cockpit floor boards for repainting. I also fitted a new lifting latch to one of them.
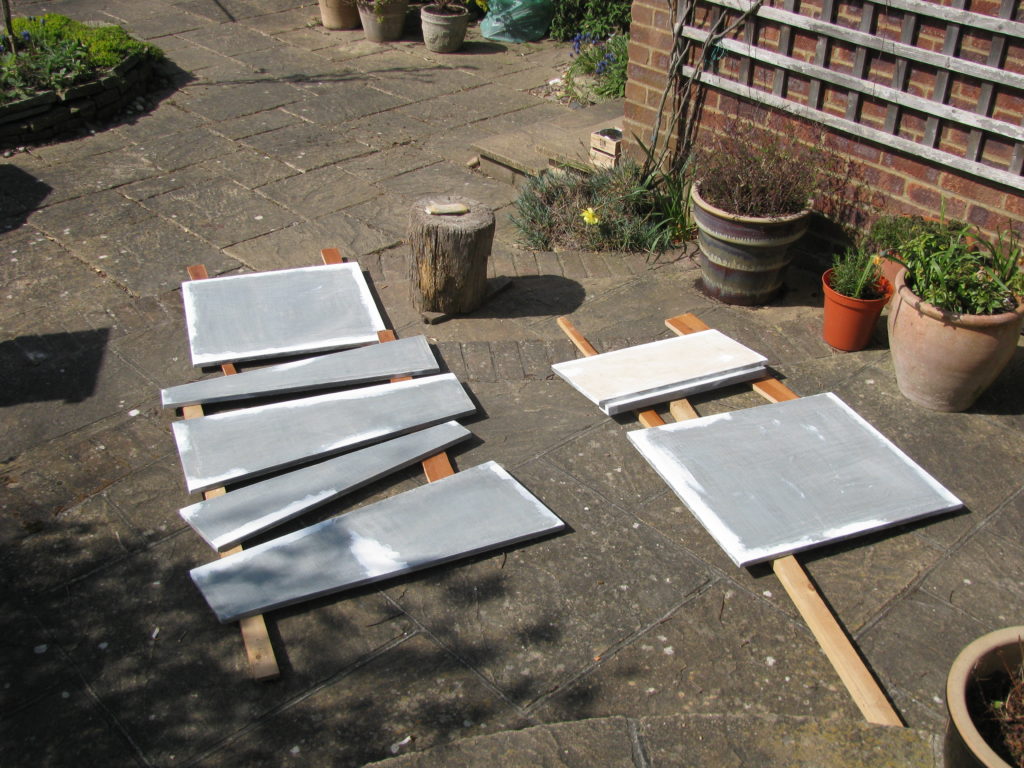
If I was not going to be allowed to go sailing, I needed something other than the comforts of good wife, home, and walking to keep me sane!
Those finished, I fetched home the compass: the light had been a bit ‘dodgy’ for a season or more … time to look into it. I thought I had cracked it by finding a faulty connection inside the plug.
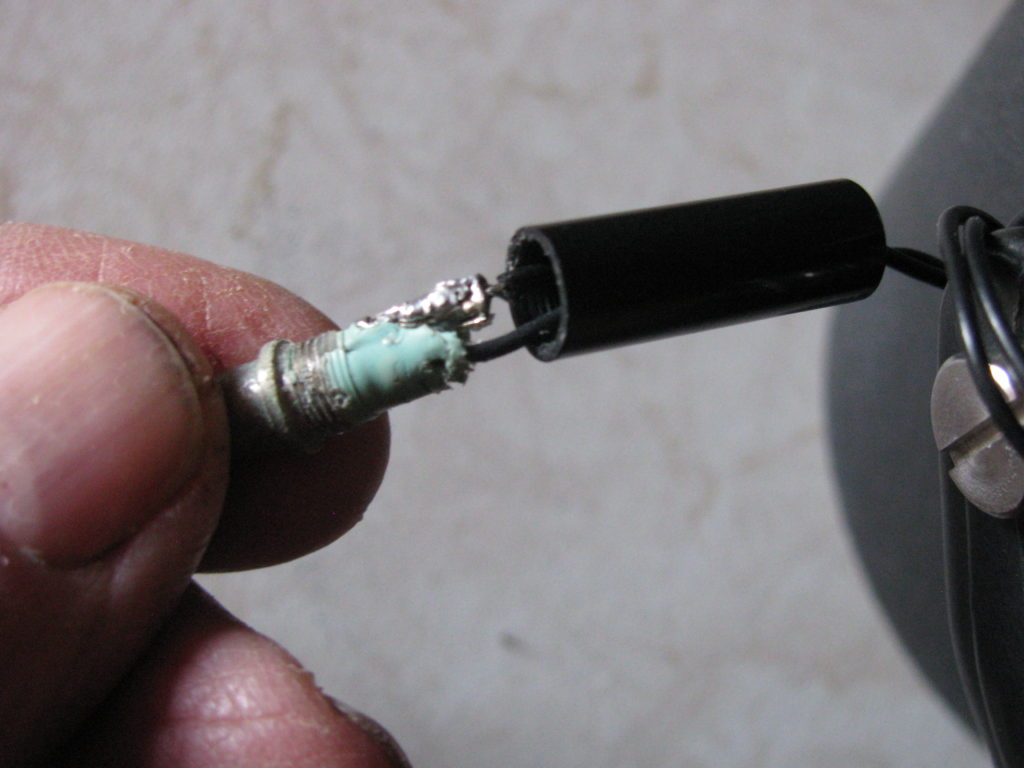
Upon visiting the boat to check moorings and bilges etc IAW guide lines, I tested the repair. No good. Back home I discovered that there was absolutely nothing wrong with the led light and its wires. By fiddling about light (as on boat) worked, but a touch and it went off.
A new plug and socket unit were sourced and one was found on Amazon for princely sum of £1.70 inc postage, cheaper than from actual supplier. Amazing!
I had to make a new wood socket housing…
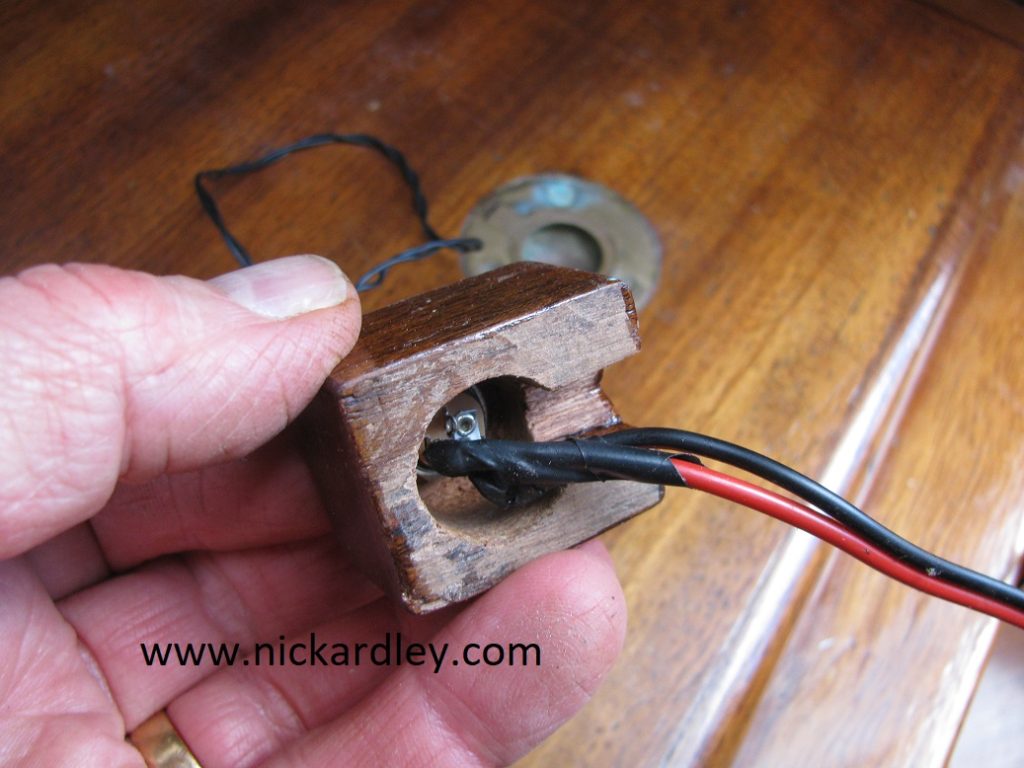
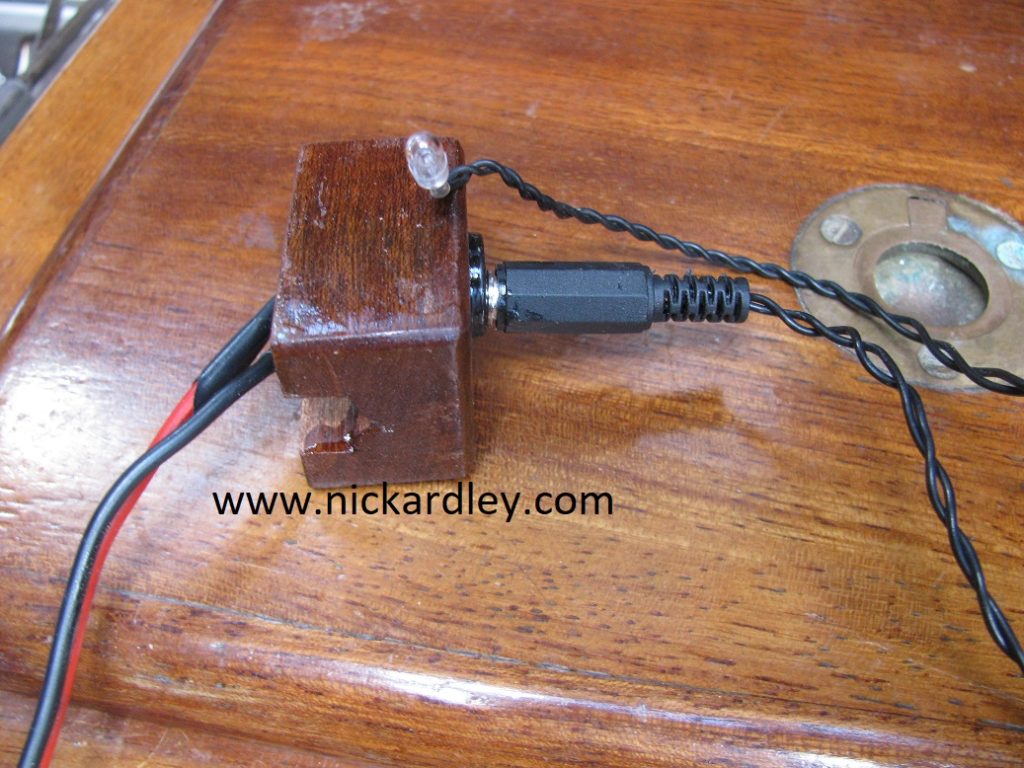
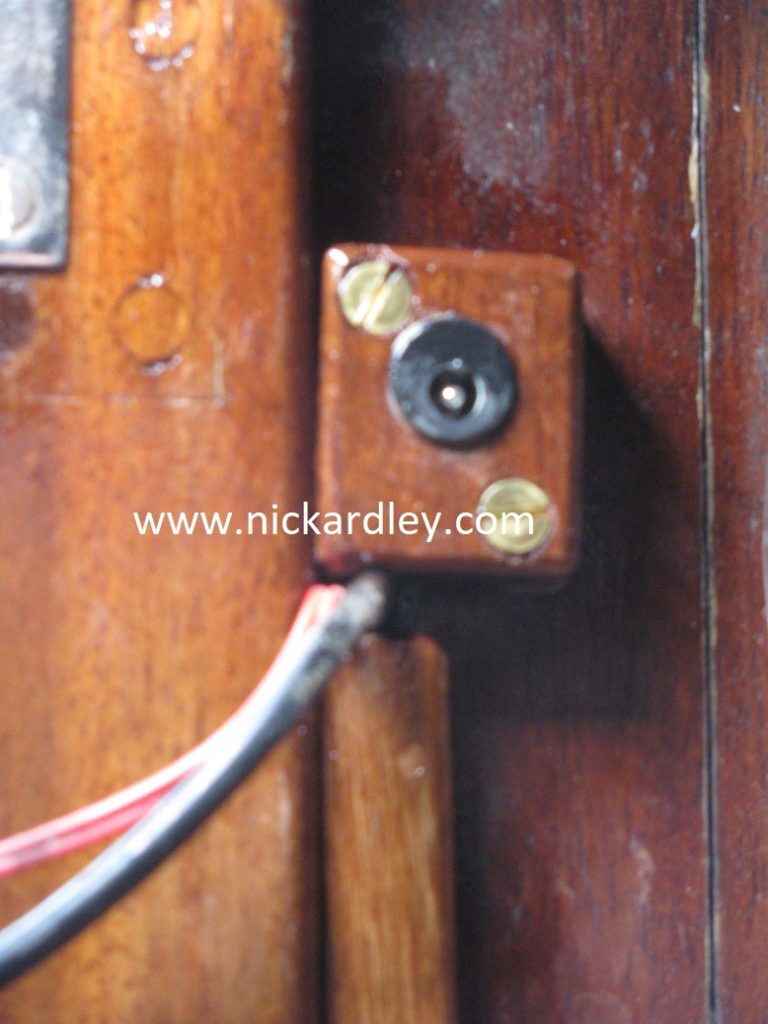
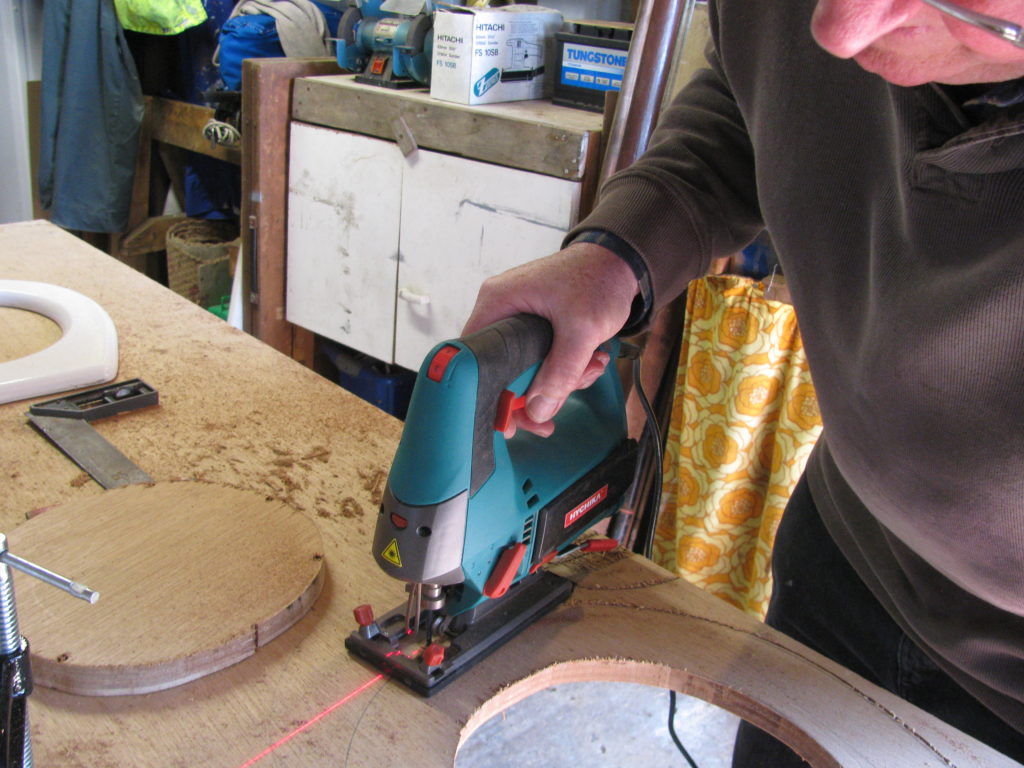
I have to say, the internet and the ability to order just about anything needed has been an absolute boon during this time: I’ve had, as you’ll see, epoxy, one use brushes, a jig saw, paints and more…
Then the big one…
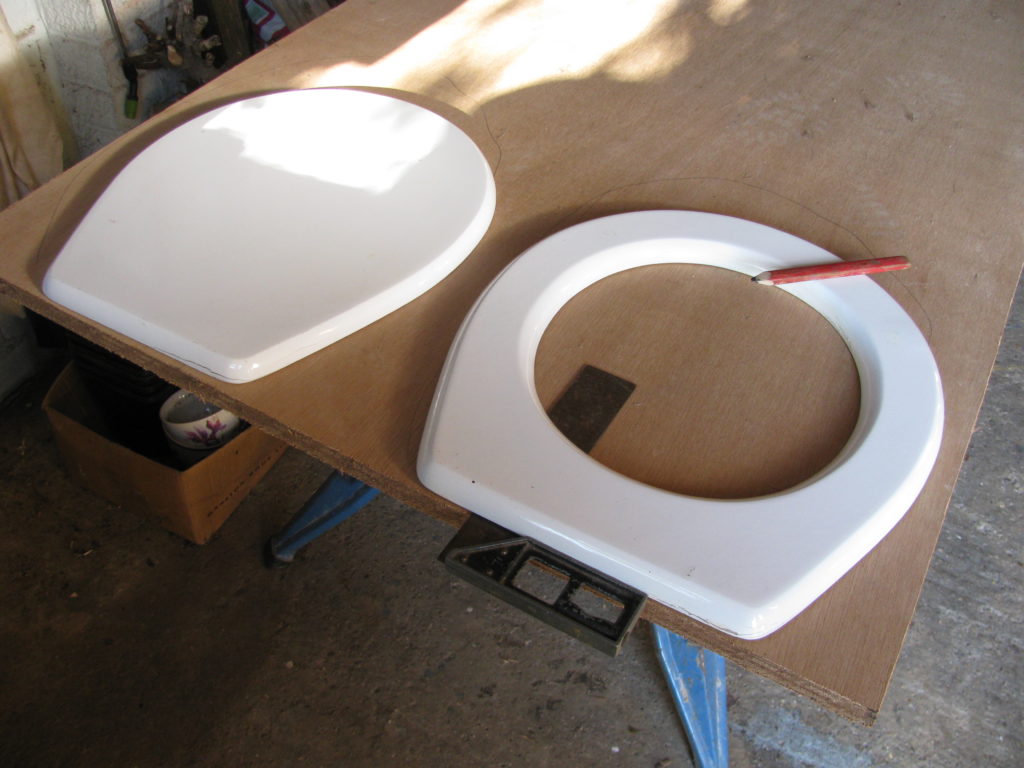
Some four years ago I bought what was stated to be a wood seat and lid for the loo on Whimbrel. It became apparent in a year that the ‘wood’ from which the parts were manufactured probably did originally grow as a tree or two but had morphed into compressed cardboard type stuff.
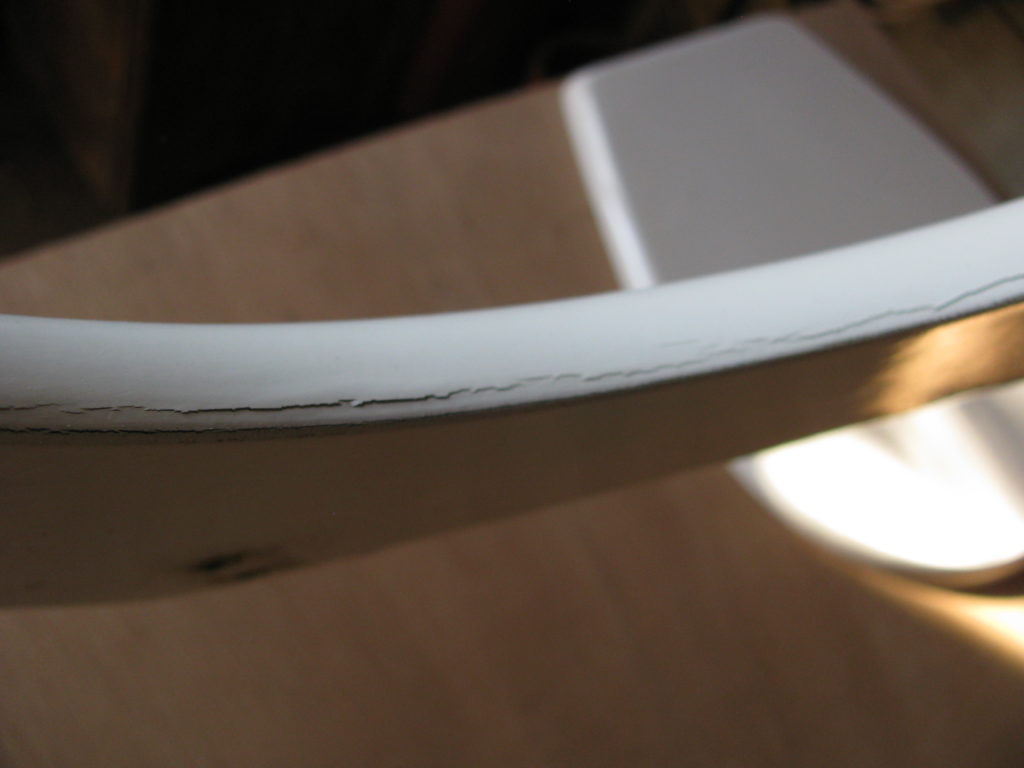
Great! The ‘damp’ soon found a way in. I did a epoxy and paint repair or two, but a return to a plastic lid seemed likely.
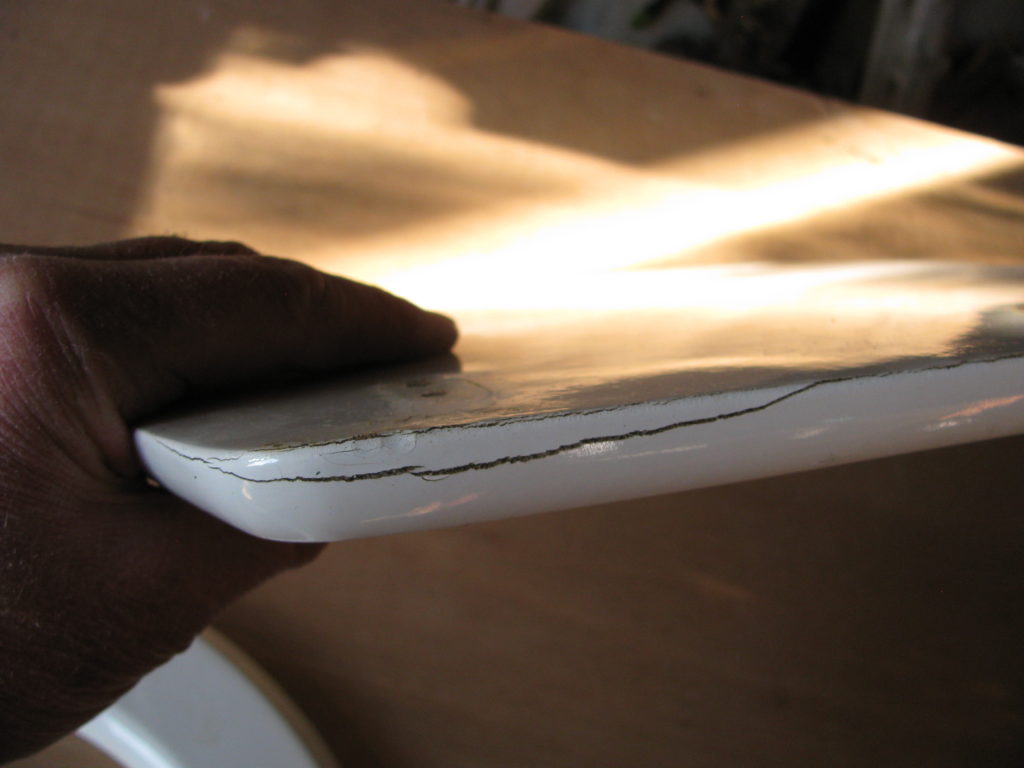
But, with loads of time on my hands and plenty of plywood of same thickness, I had a challenge!
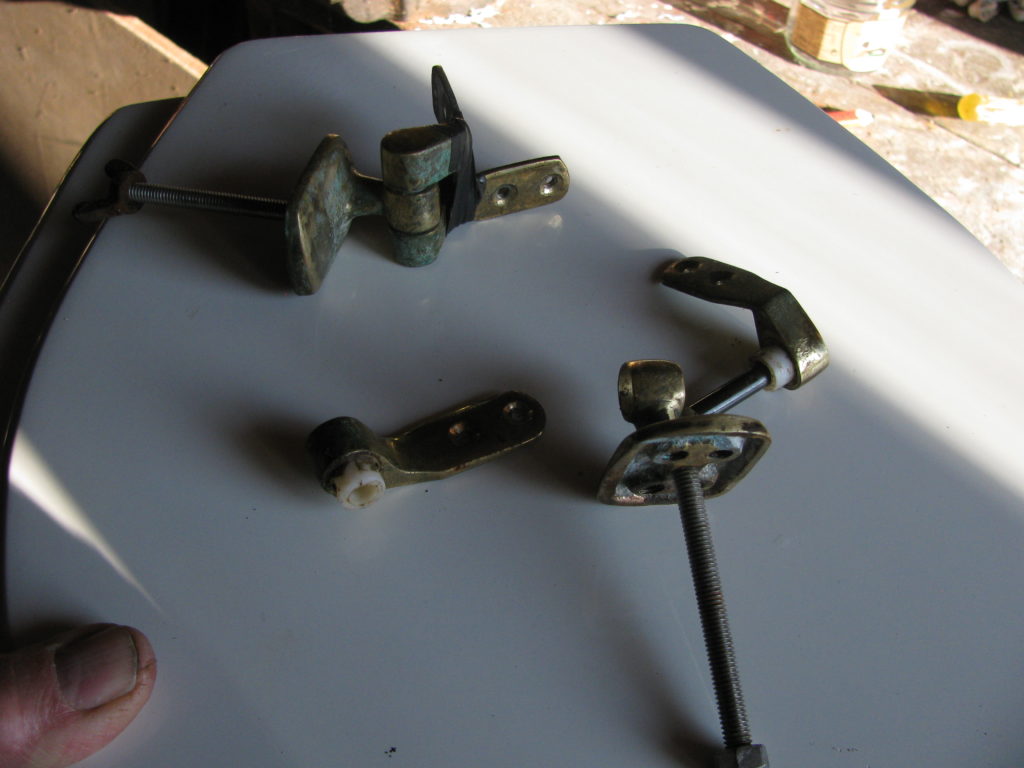
I will tell the story in pictures…
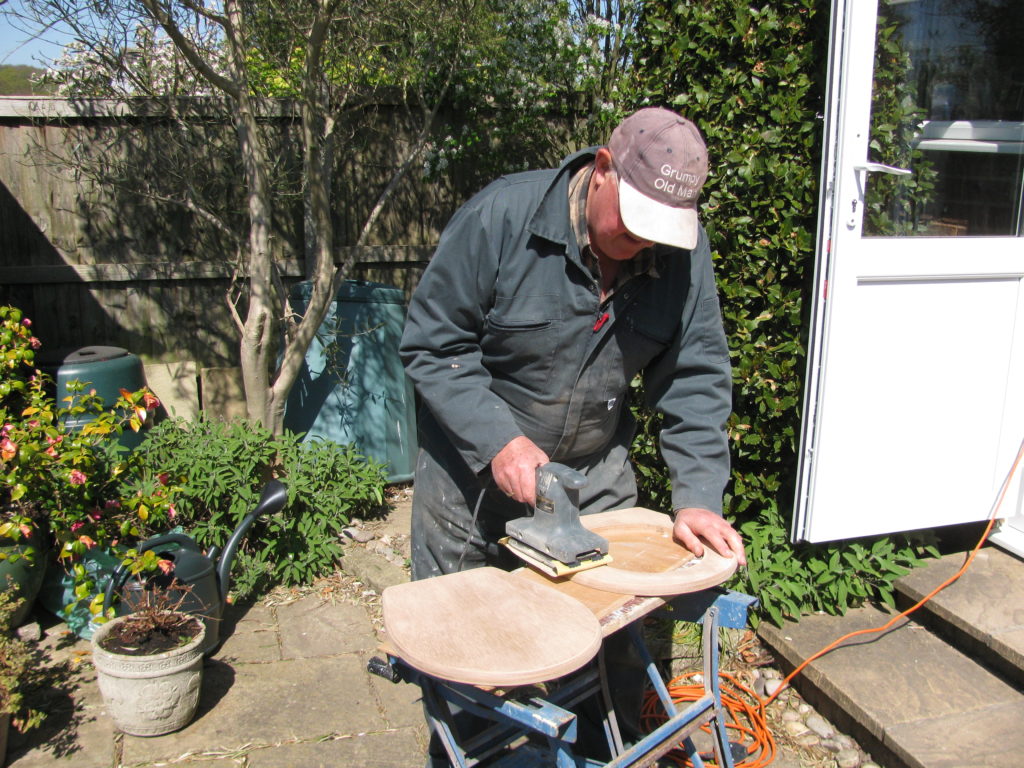
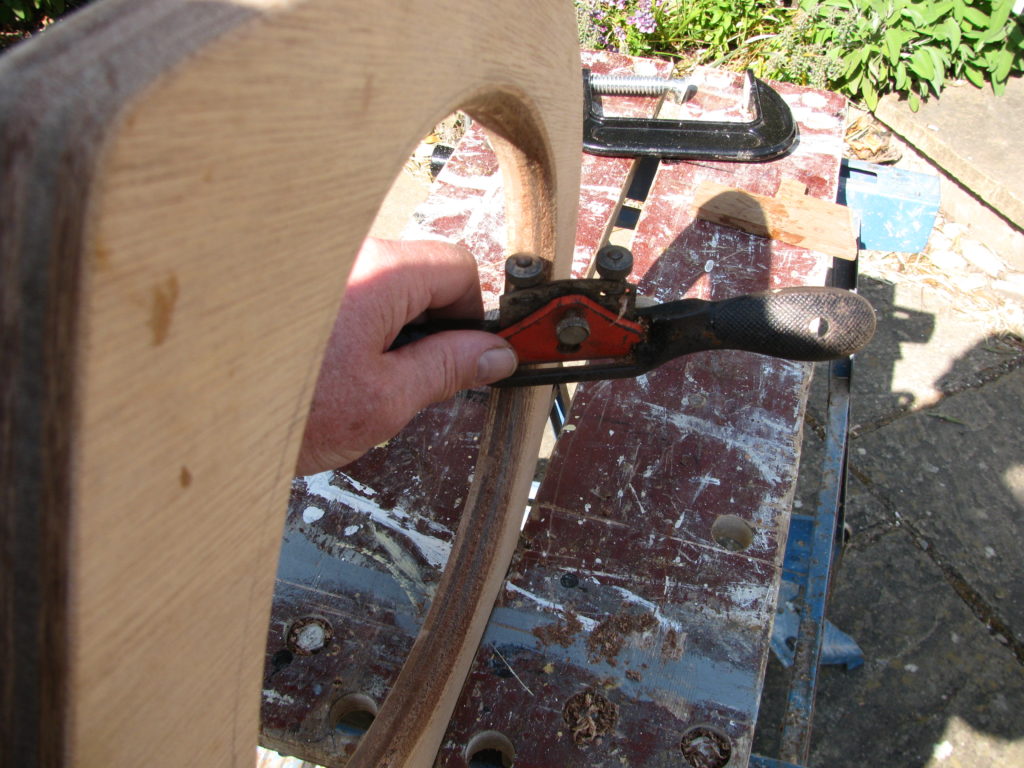
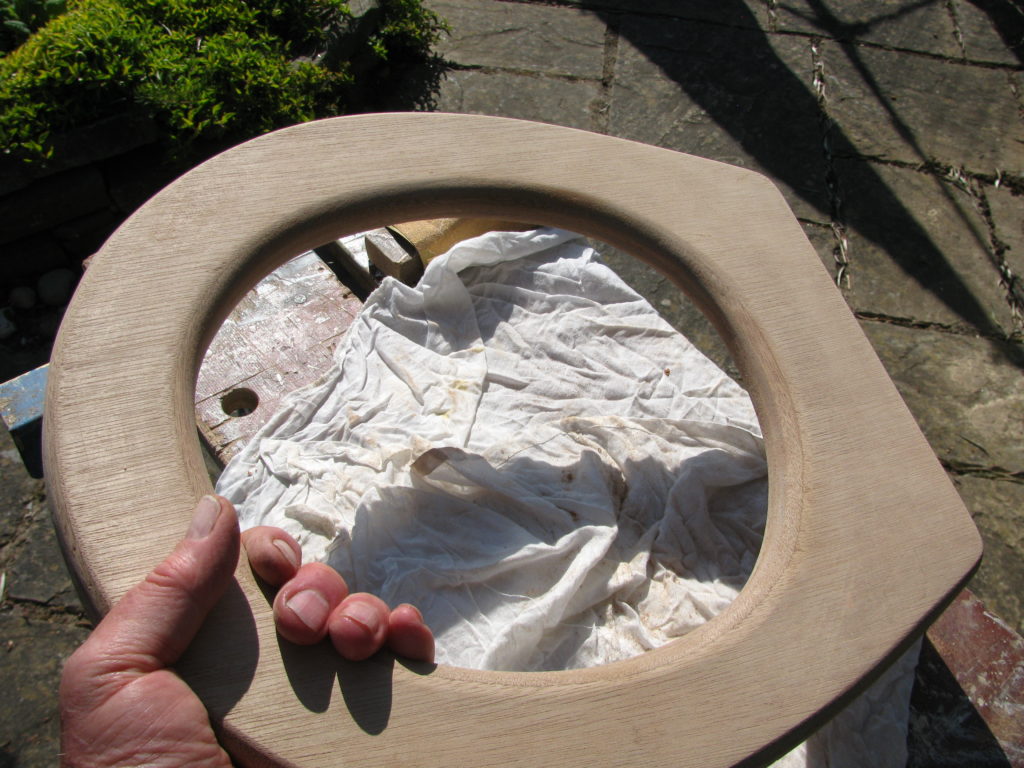
At this point the good mate of Whimbrel beagan to take more interest in the project: she said, sanded, ‘they felt as smooth as a baby’s bottom.’
Yes, well!
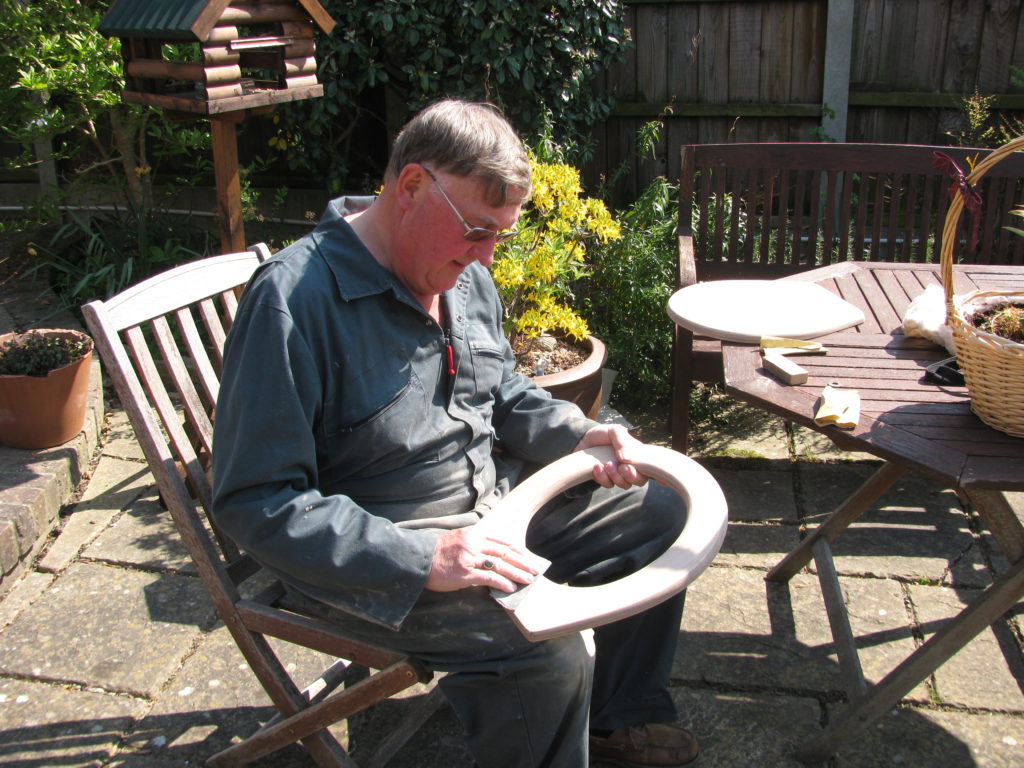
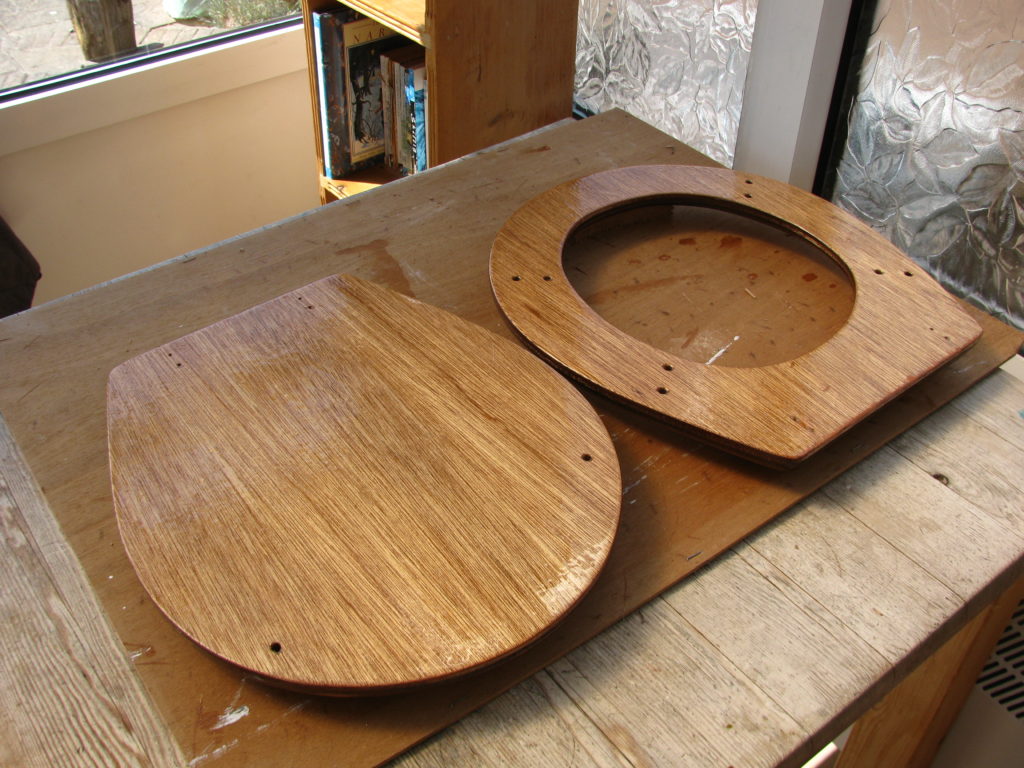
On a visit to Whimbrel to check moorings and bilges, I dry assembled the parts to obtain pre-drilled hinge screw holes and I also drilled the holes for cleaned up seat buffers. Epoxy was brushed into these.
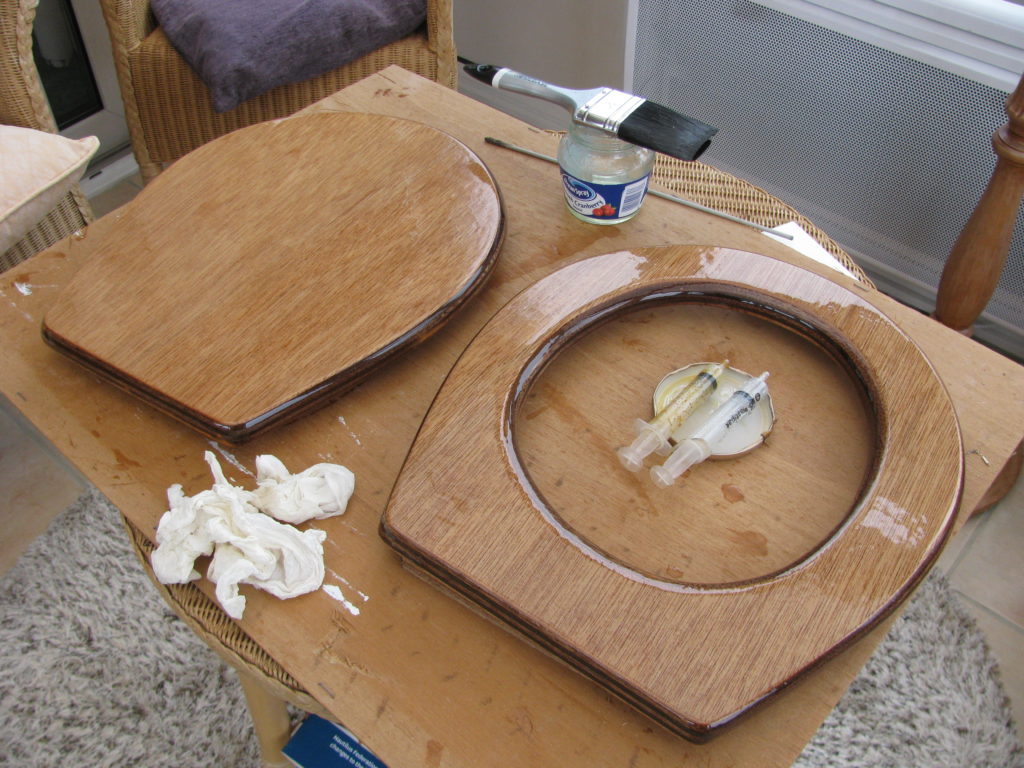
I used a ‘bathroom’ sealant to bed all the bits and pieces ensuring screw holes received some too.
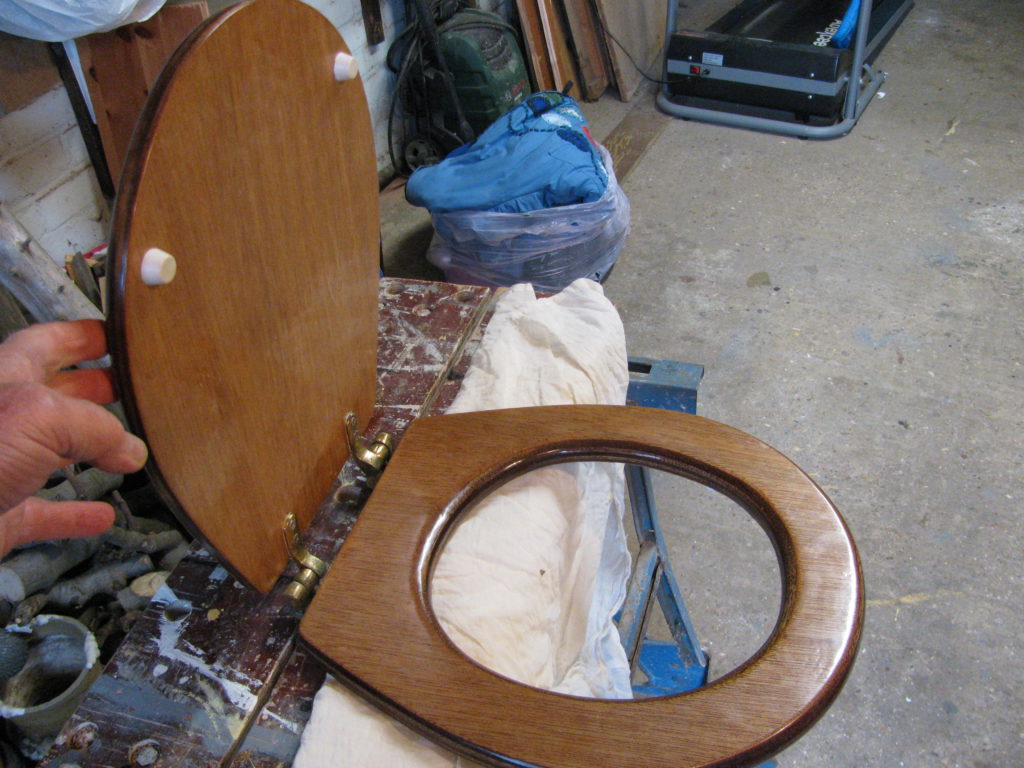
On another boat visit … I fitted loo seat and lid.
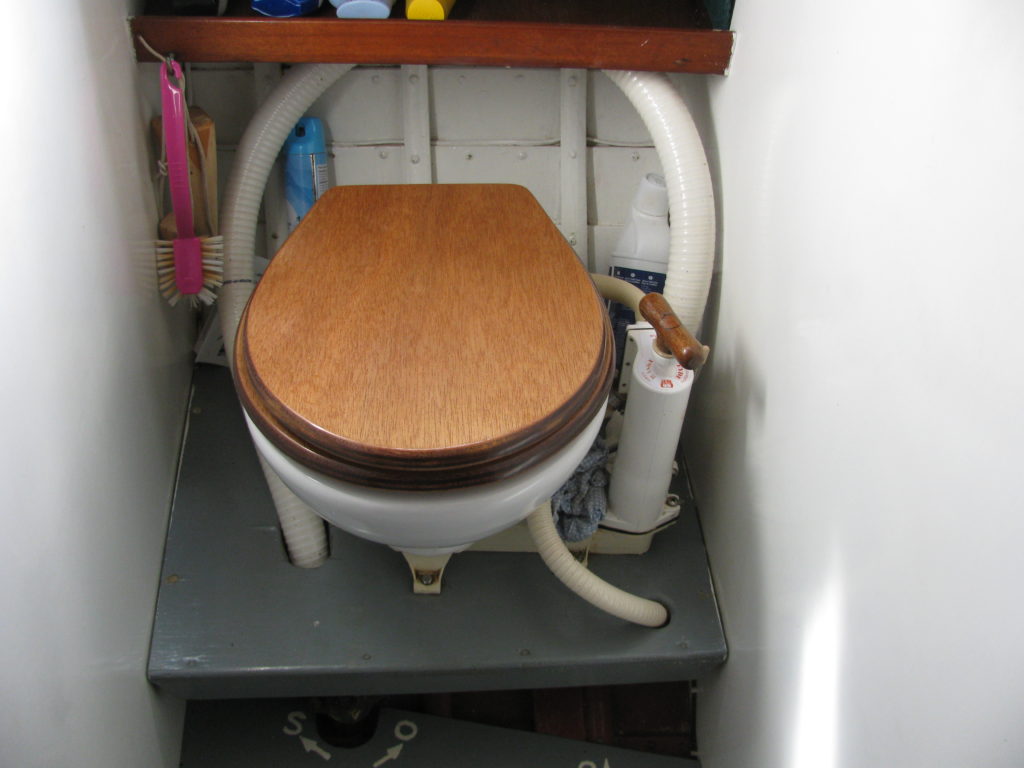
All in all, the cost was the grand sum of £88. The effort was free of charge, time was of no essence, and to be frank, I’m quite proud of the finished product!
It looks good and as one of my regular crew said, ‘A throne fit for a king…’
The boat still sits awaiting the call of the sea…
