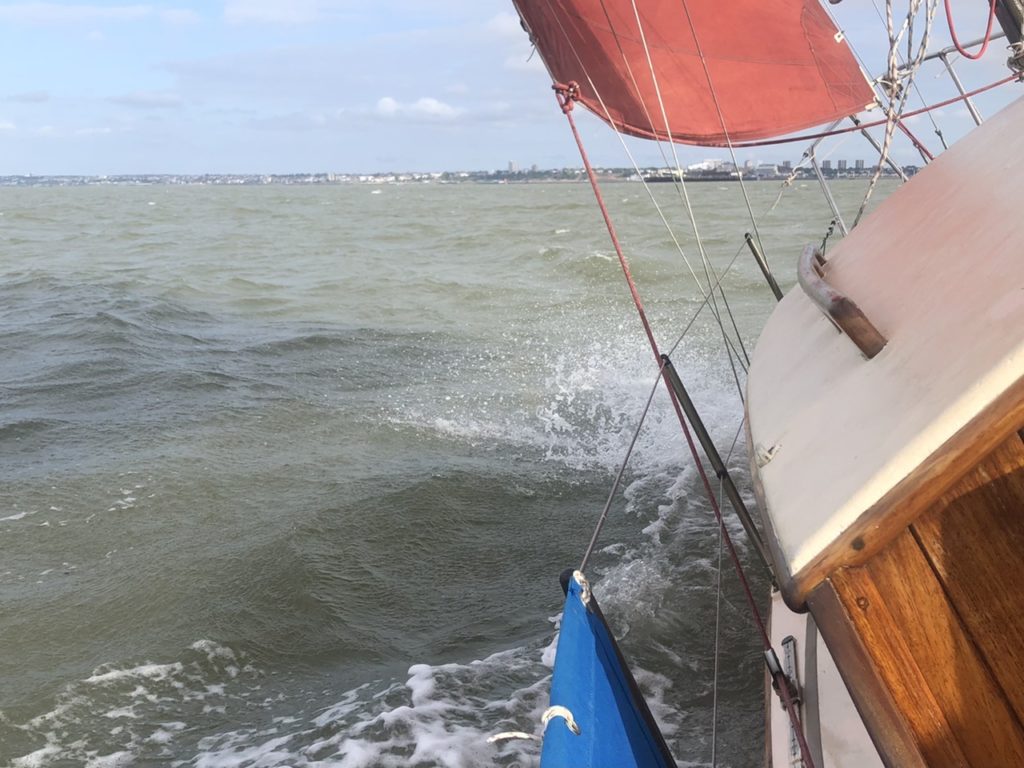
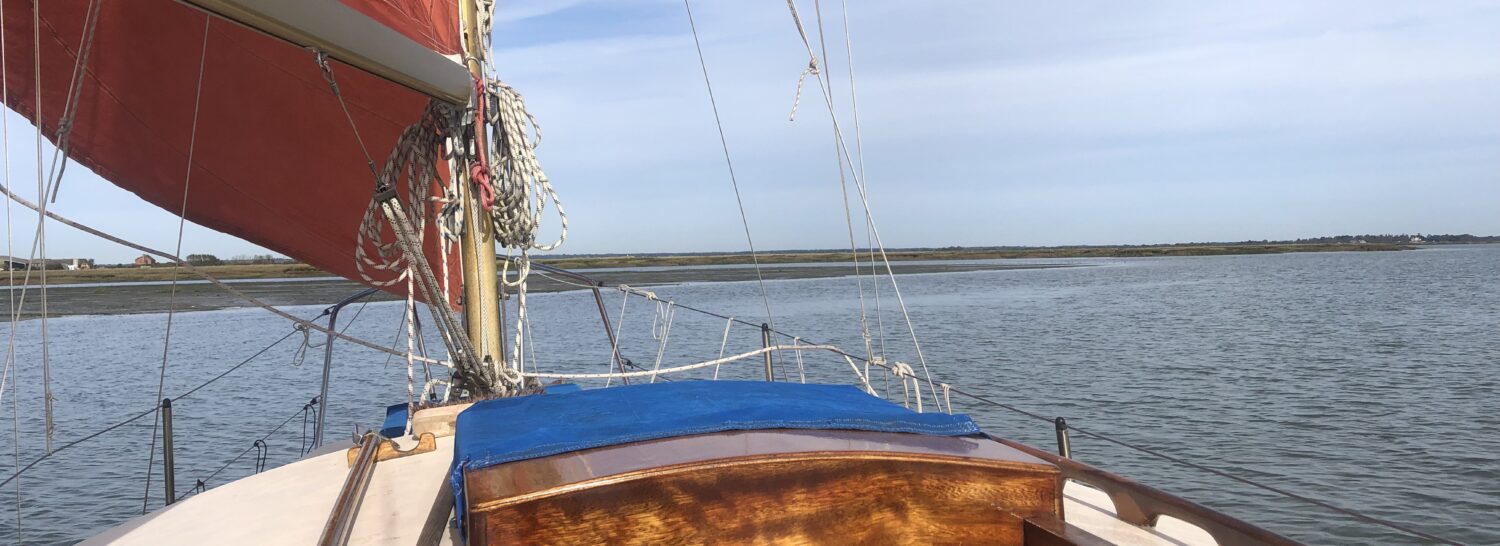
We set off from Queenborough on the West Swale early the other morning bound for Gravesend.
It was a quiet still morning n the harbour, but clearing Sheerness the sails were up and drawing nicely to a northerly – not the forecasted east-northeast!
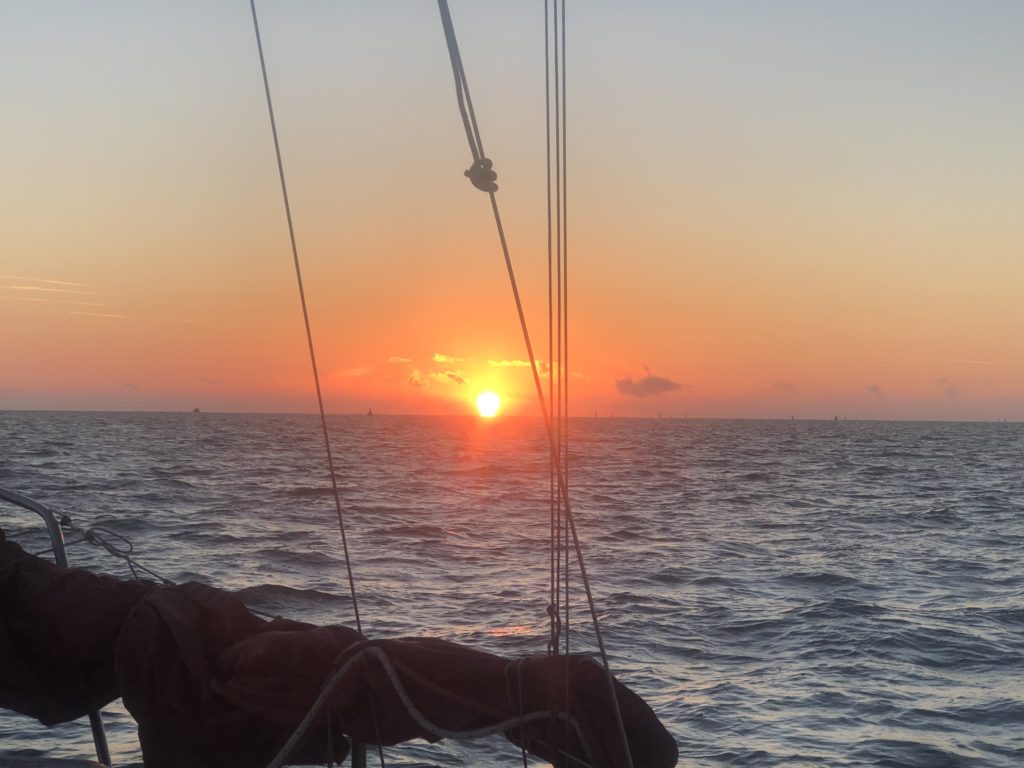
We proceeded nicely up the Nore Swatch and passed the eastern end of Canvey Island.
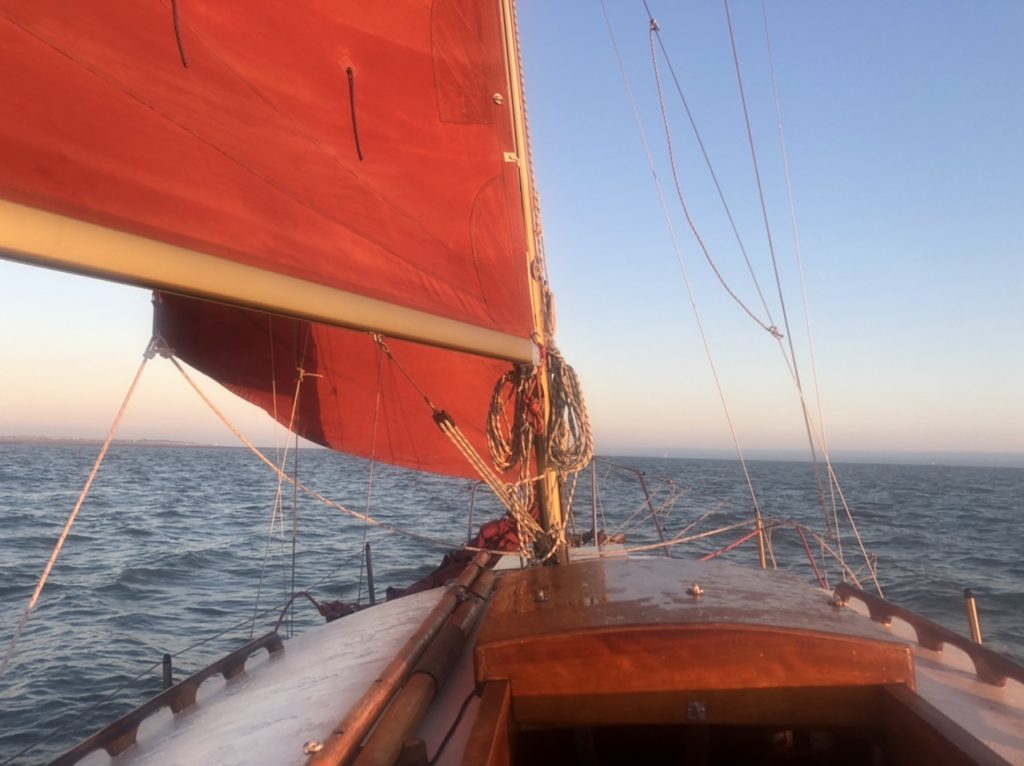
After passing the East Blyth, we changed over and I went below for a wash and do the breakfast clearing up. The clearing up done, I set to with my ablutions…
I was half way through this without a stitch on when Christobel started the engine, saying something…
The something was drowned out by a tremendous crash with an unsavoury noise. I saw a buoy rush aft past the aft most port. We’d hit it a glancing blow.
I looked aft, the dinghy bounced off and we were clear. Below, I could see that water wasn’t rushing inboard, but what damage was there apart from my mate, who was in tears…
‘I got it wrong…’ she said, shedding more wetness.
‘I thought…’ she wailed.
We’d ‘bounced’ the Mid Blyth Buoy – a bloody big bugger!
I am always saying to my helms to leave buoys well clear: I can remember my father ‘mating’ with several in my childhood on the engine-less spritsail barge May Flower.
‘Carry on please…’ I pleaded. I need to check below properly for damage. I was shaking from the shock…
Splintered paint covered the table and cushions from ‘deck stress’ apart from that there was nothing to see below. I pulled the berth cushions out and looked around. Dry. No water was leaking in…
Above deck the damage looked serious, at first!
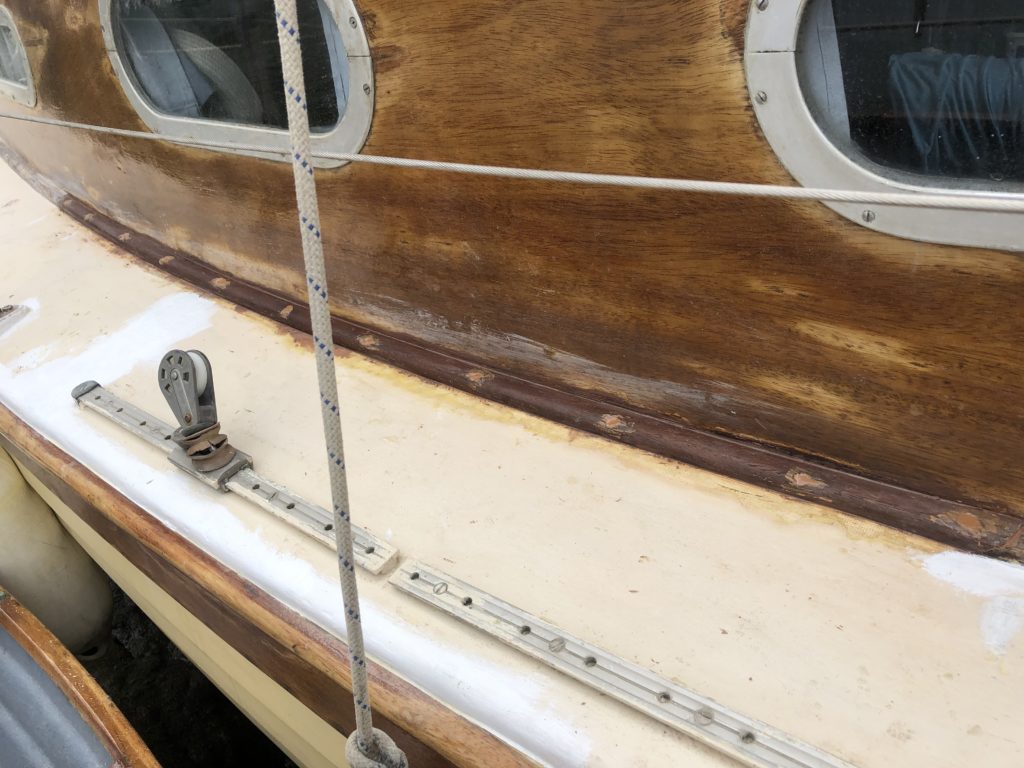
Closer examination later showed we had ‘got away with it’ and there wasn’t a mark on the hull or rubbing band…
The deck edge was stressed and a join had opened with one side ‘popped’.
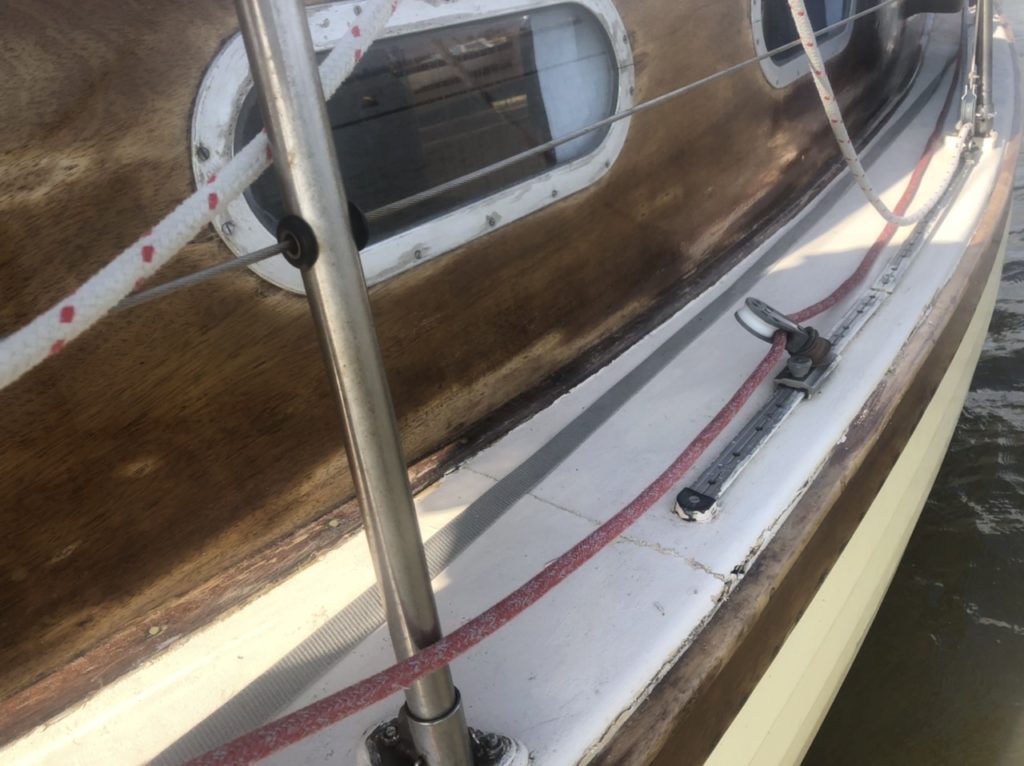
Apart from the obvious, all looked sound, so we continued on our passage with the mate on the helm.
We did not discuss the ‘incident’ until moored at Gravesend – initially on a sailing club buoy before moving to alongside the Town Pier, which had been booked.
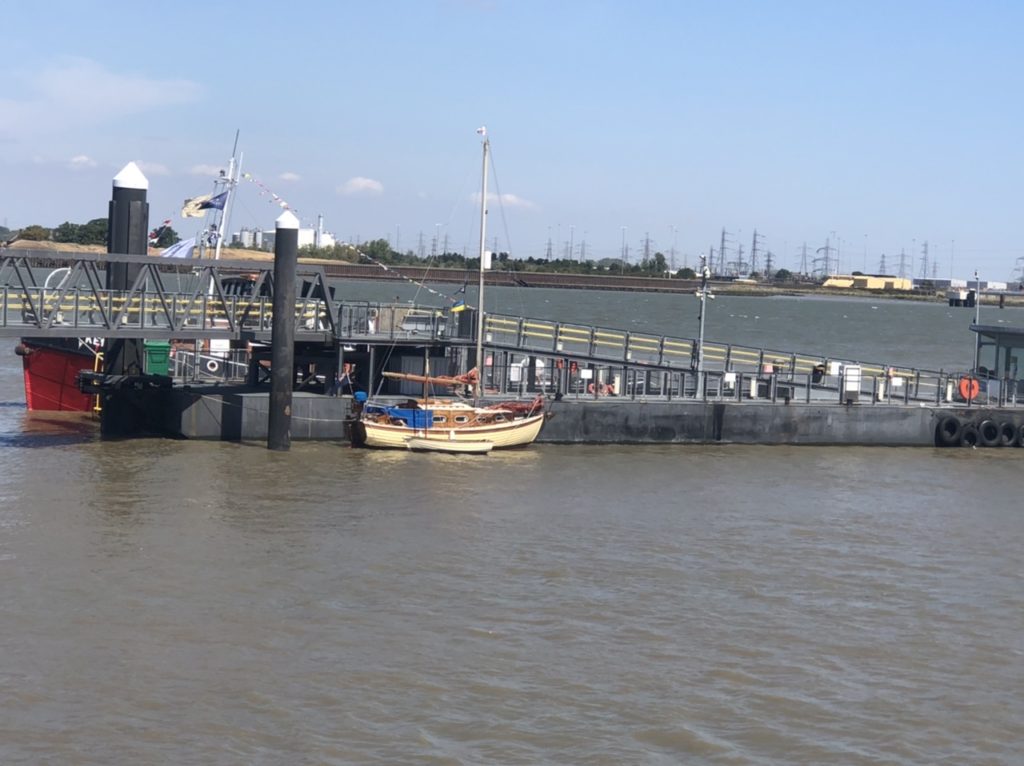
At the ‘Court of Inquiry’ the Mate pronounced herself guilty as charged!
She’d got too close and then chose wrong way out… hey ho, cheers darling!
I had had a good look too. The cabin side beading has loosened and the deck edge lifted, with one deck join too.
The edges, join and beading were sealastic sealed … as a keep water out measure.
The join has been screw fastened which thankfully pulled the popped section down.
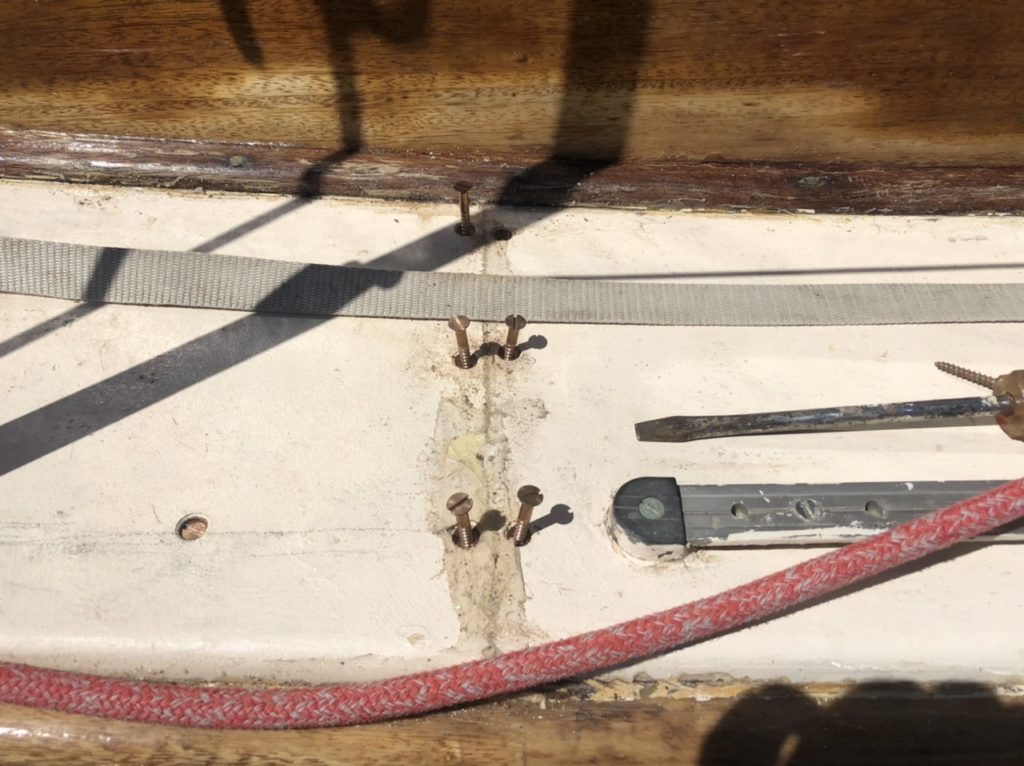
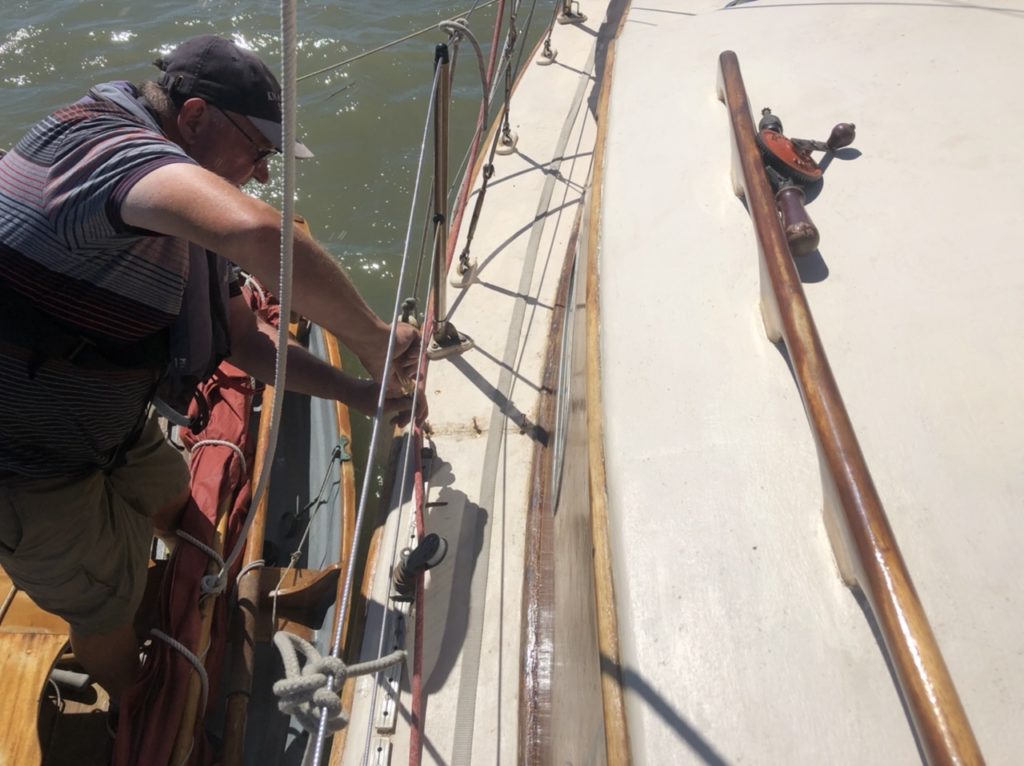
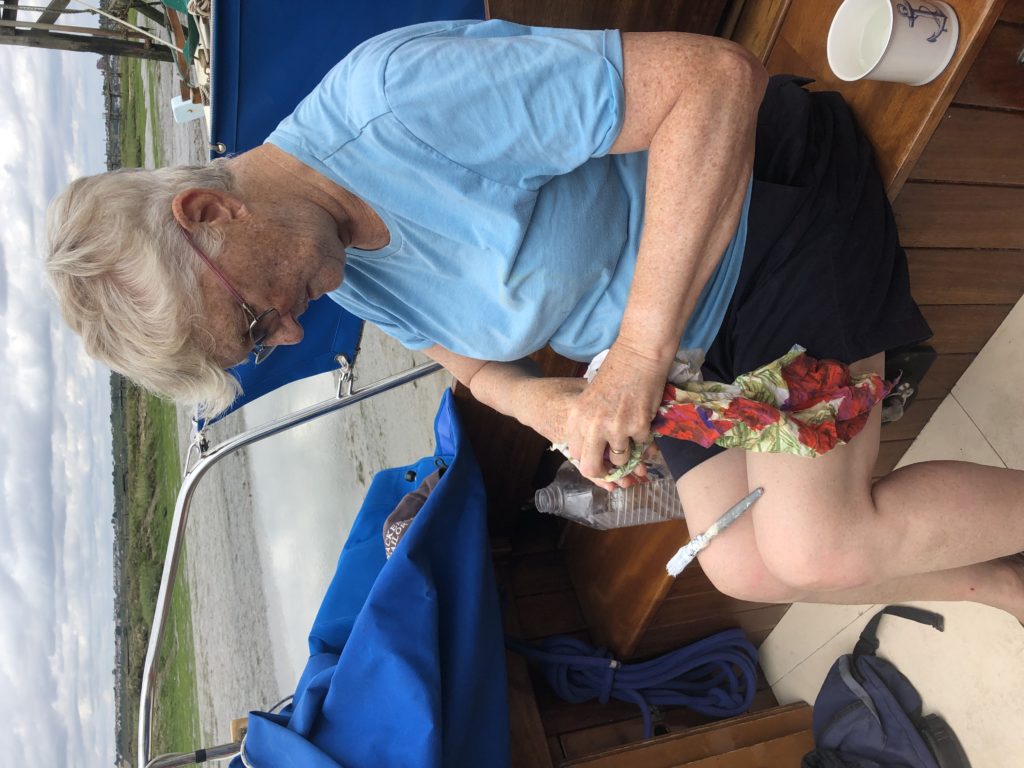
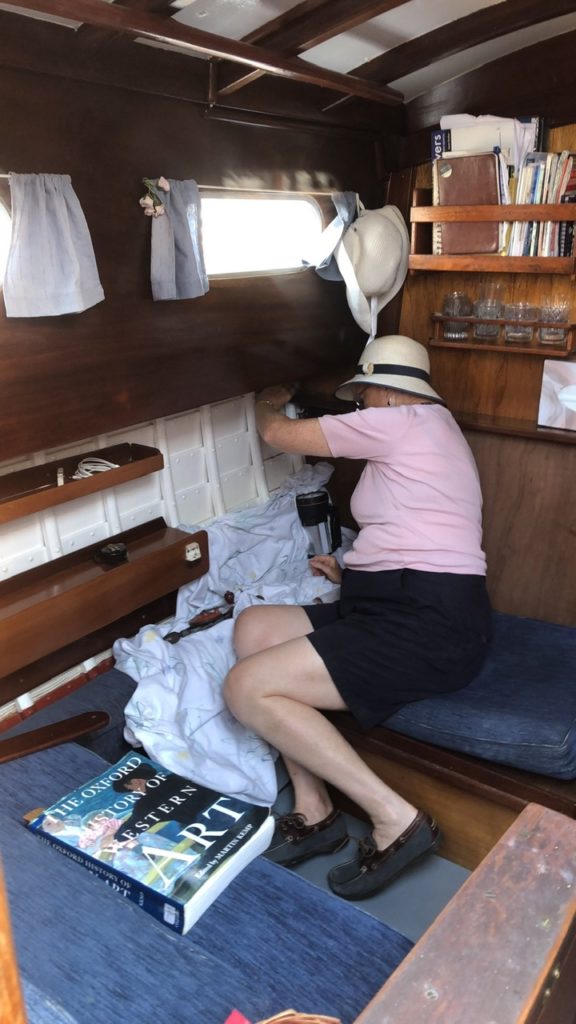
Christobel helped with tool passing and some pictures…
Several original fastenings were punched a little, rust treated and plugged… (a common Finesse fault)
The deck edge and cabin side beading remain to be dealt with.
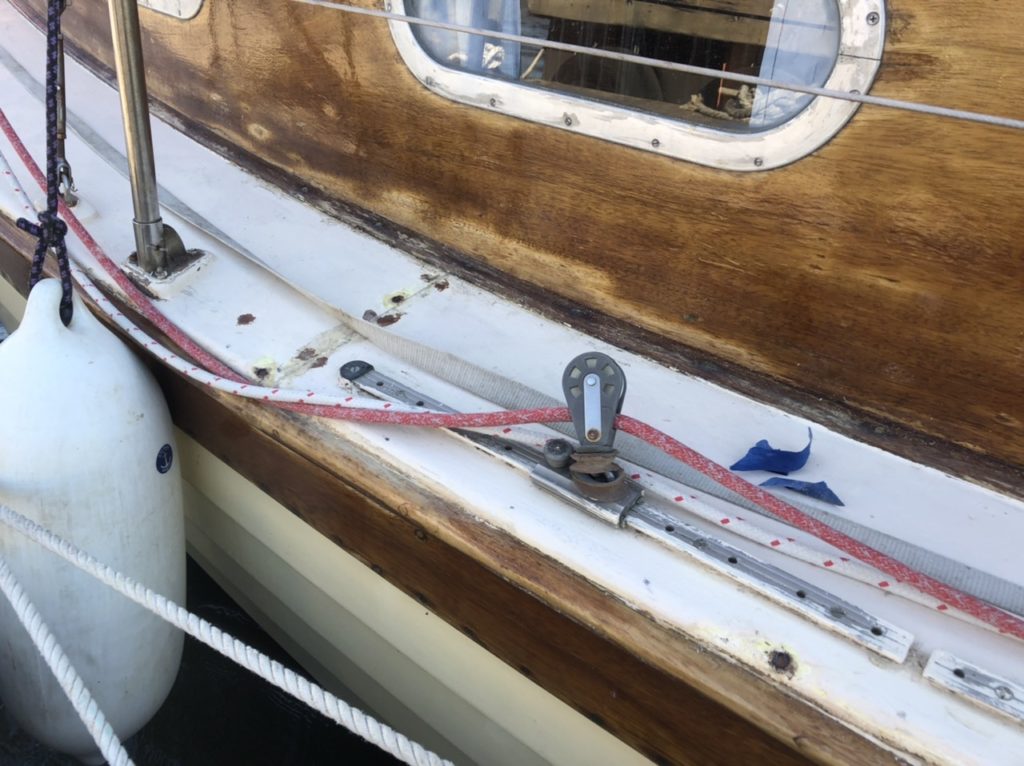
I have also got to ‘gingerly’ put a number of fastenings along deck edge into a 5/8” Iroko plank – tentative pencil dots have been made…
The good news is that all drilling swath is good coloured wood!
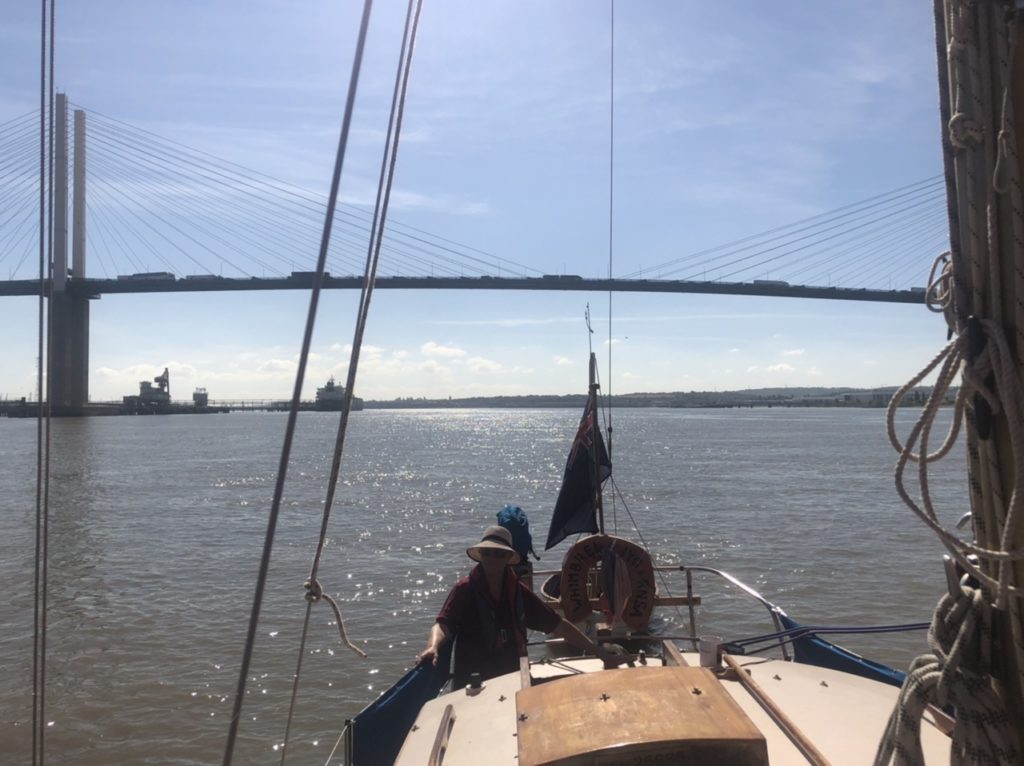
The Finesse is clearly a tough old bird. I really thought the worst and had a terrible night rescuing my Mate twice and failing once… Shock?
The good news is that Whimbrel survived, intact, and my Mate too is slowly regaining her confidence…
Bless.. xx
Update: Saturday 13th Aug.
Alongside the Greenwich YC pontoon (inside berth) a run of new deck edge fastenings we’re fitted.
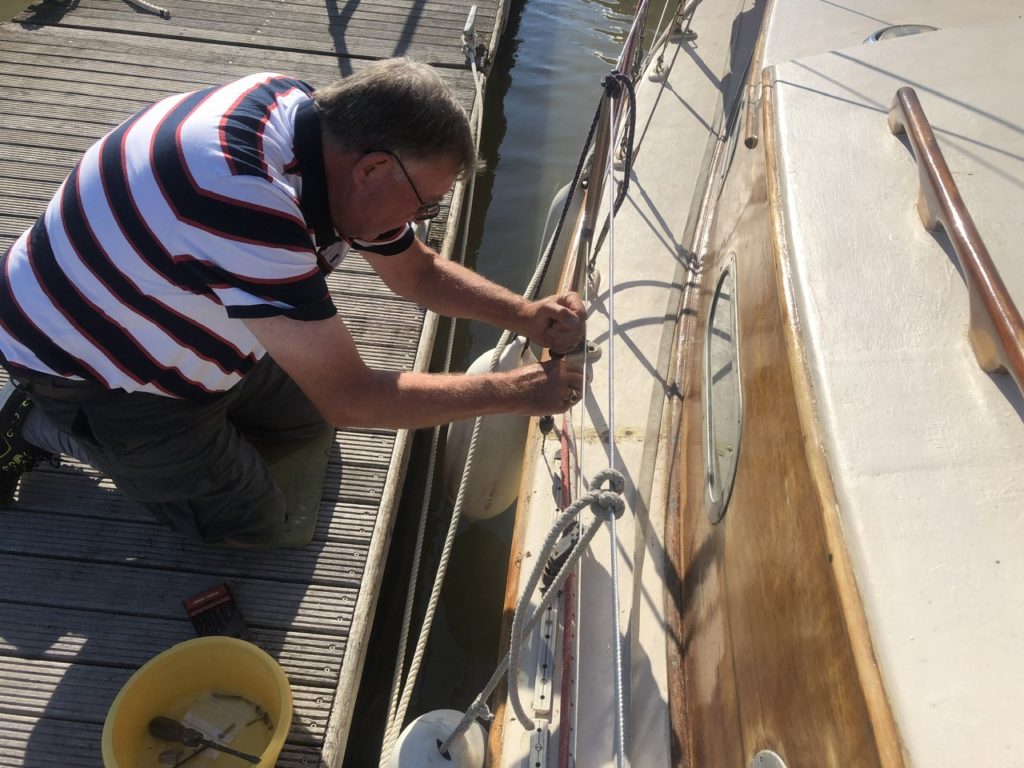
All drillings – fine drill first- stayed in wood. The planks are max 5/8” thickness!
screw size drilling and countersinking done, my row of fastenings had the deck edge secure.
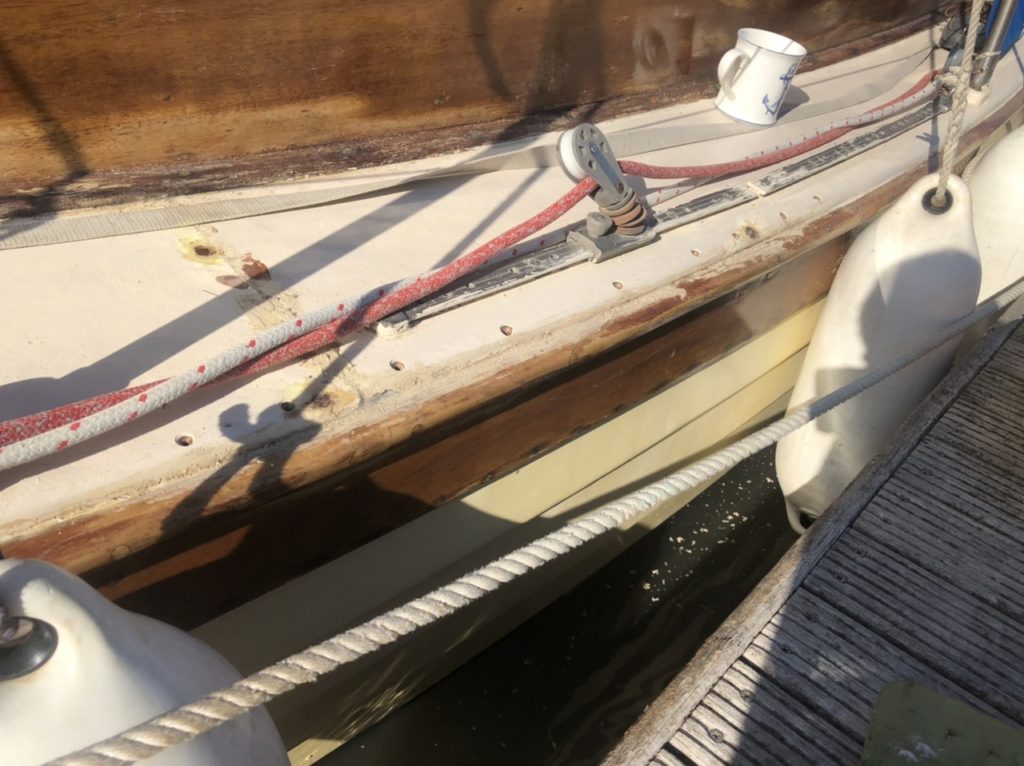
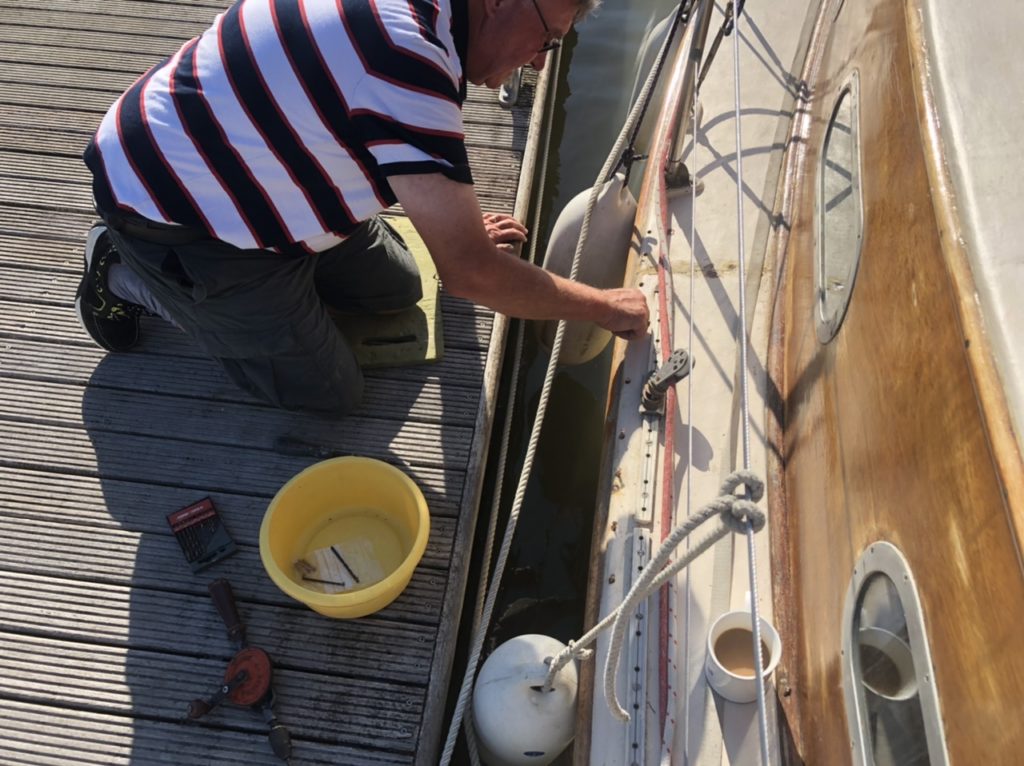
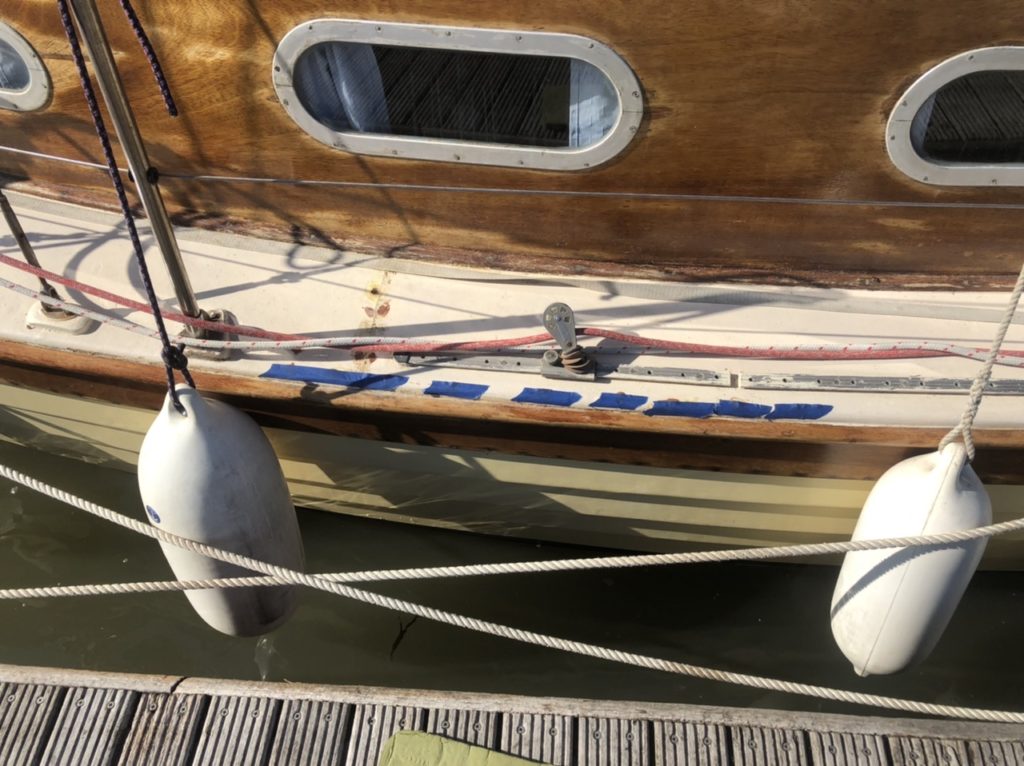
There are a couple of old fastening tops to deal with … popped as deck was pulled down hard.
Those and repair to fabric of edge to do next…
Update: 20th August.
During our stay in St Katharine Docks Marina repairs were progressed.
The deck edge was carefully stripped of paint, sanded and the glass sheaving re-coated with epoxy.

This was allowed to cure before final filling, sanding and several coats of undercoat paint.

The area of deck either side of a plywood join was then cleaned back to he original glass sheaving. Old capped fastening heads were cleaned out, fastening punched, an application of anti-rust treatment before wood plugs glued.
A further fastening head spotted was also dealt with before a filler coat was applied. Whether or not the join needs a piece of cloth epoxied over remains to be decided…

The last job before ‘hitting’ home was the treatment of a fine crack in the sheer strake. Creeping crack cure was dribbled along until saturated.
A couple of fastenings were added above and below for good measure and decrease chances of movement. The filled over screw heads are barely visible.
Next: the deck edge/cabin side batten must be removed, repairs made and batten re-bedded…
Update: 22nd August.
we arrived home on a glorious evening after having a Ray Day with scrub of Whimbrel’s bottom.
Working from the dinghy as a stable platform the cabin side batten was removed intact. The original sealant was removed and a section of loose sheaving cloth. Area was sanded.
Apart from clear movement running forward there was a gap to the cabin side at the inner deck edge aft, but it didn’t seem to be ‘fresh’ – from build? There was clear movement along the aft deck section. The edge was re secured with bronze screws.
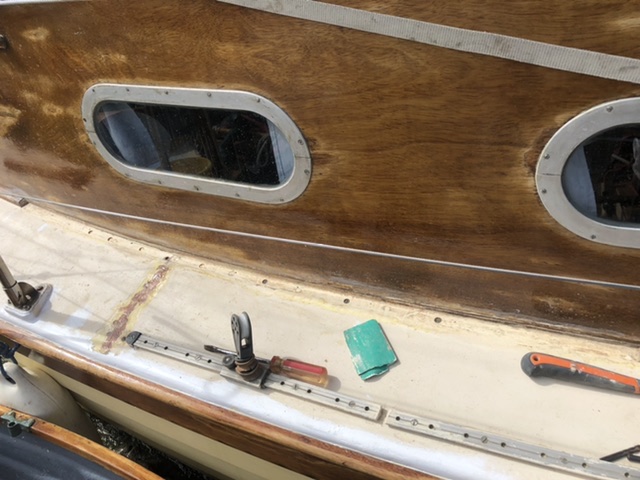
An old fastening was punched in and plugged too.
Epoxy was then run into the gap and movement crack followed by thickened epoxy. This was left to cure.
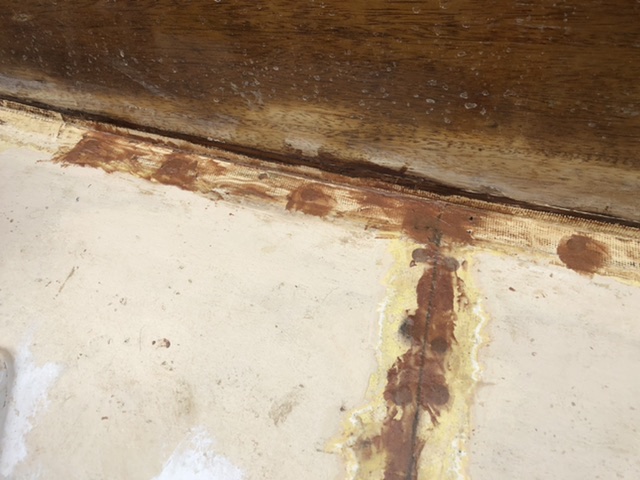
The whole area was then sanded ready for application of glass cloth.
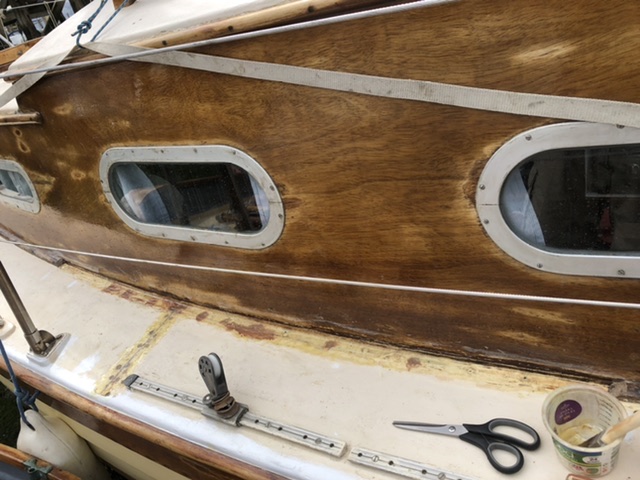
I was surprised at how translucent the glass cloth went, but it’s there!
The batten was taken home for cleaning, sanding and epoxy dressing of ends to allow fitting back flush at angled cuts.
And glory be, a tube of Simpson MSR marine sealant ordered while away arrived in the post!
Penultimate update – 23rd August.
The good mate joined the work party for this penultimate day of repairs.
Her job was below – sanding and undercoating the cracked paint on the underside of the deck.
While this was going on I set to and prepared the batten for refitting, adjusting the bevels to fit. It was to be screwed back into place – holes were prepped too.
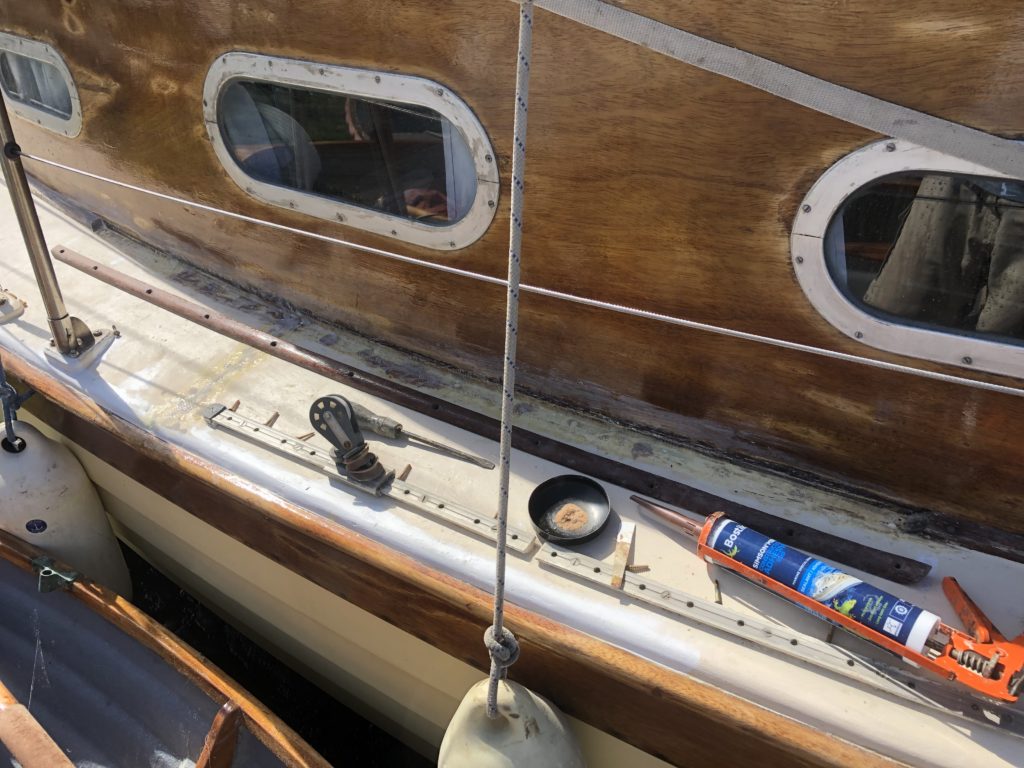
The epoxy and glass cloth areas were sanded to take away any high areas. The deck join area too, ready for a coat of undercoat paint.
We stopped for a break before the final exercise – it was exceedingly hot and humid…
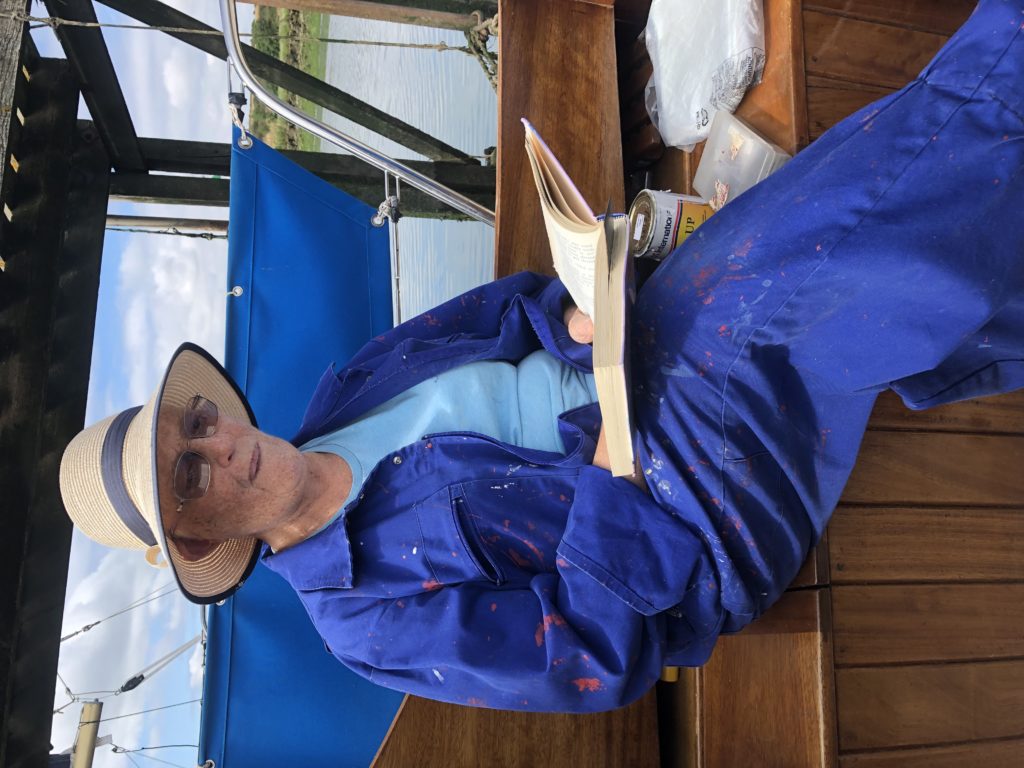
Break over, I set to work. Sealant – Simpson MSR compound – was applied to mating area then a little epoxy mixed and applied to forward end. I had to get on now…
Working from forward where curvature was greatest, the screws were driven home.
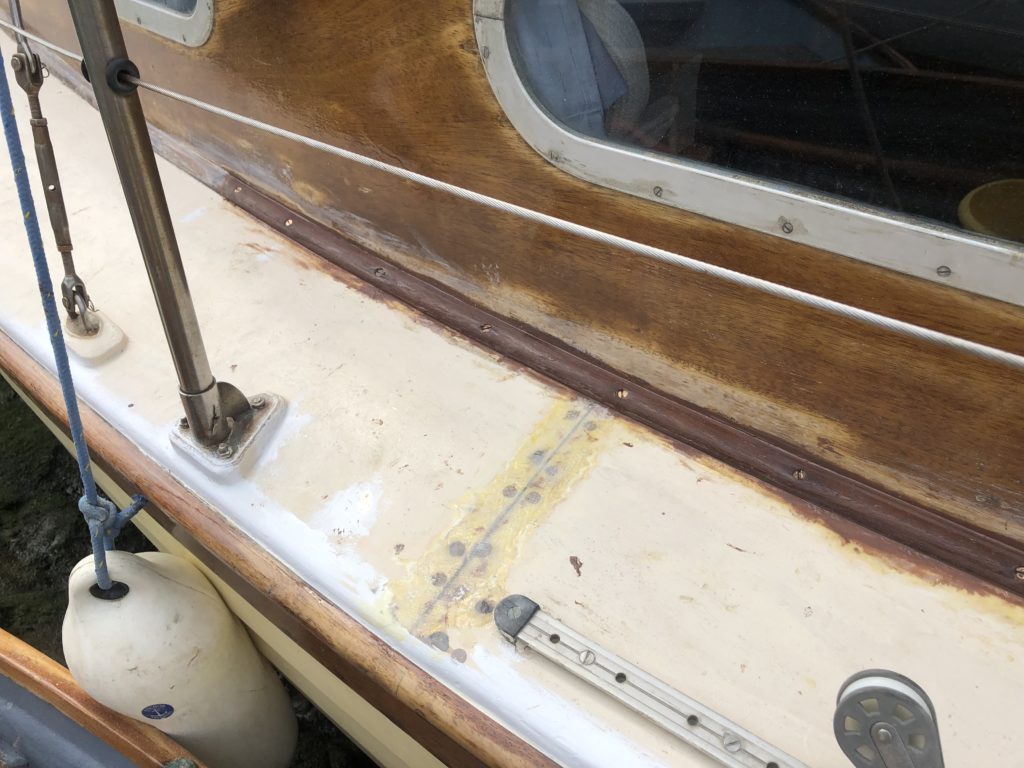
Reaching the aft end a further bob of glue was applied to batten join and last screws driven.
Christobel in the meantime had done a clean through below around her working area. We had a lunch stop … allowing batten to settle.
While I went round the screws again and sealed tops with thickened epoxy, the mate applied her second coat of undercoat paint…
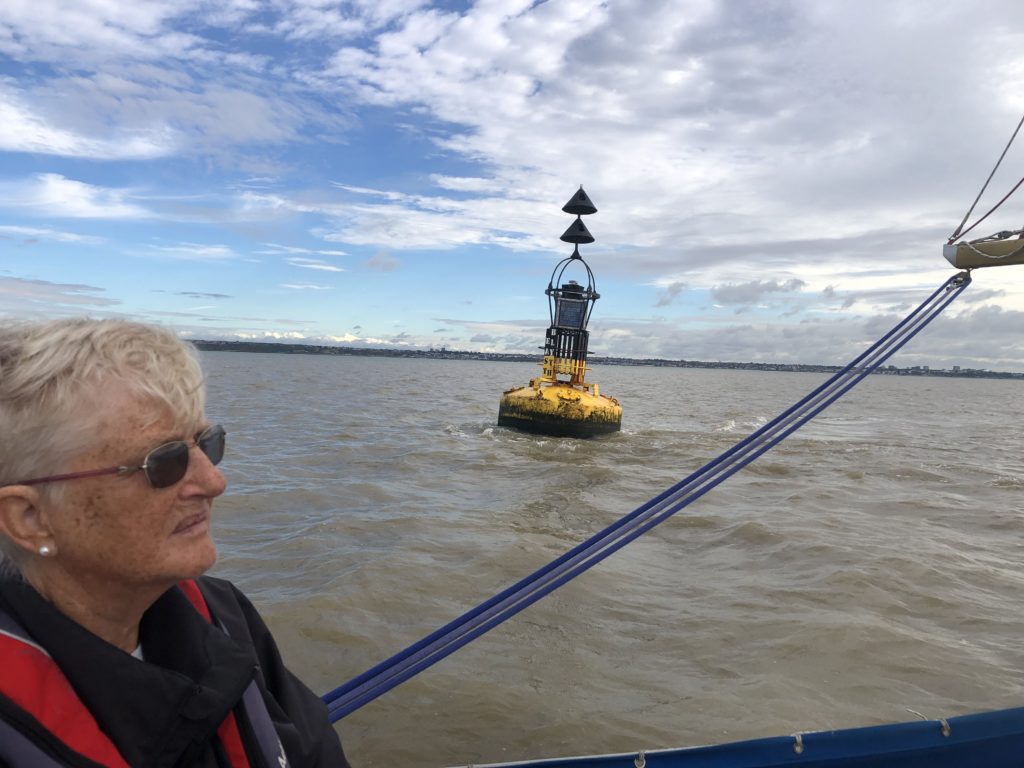
Of yes, Christobel left this buoy a fair distance off. Look at the flow past its body!
The end- all the sticking plaster comes off!
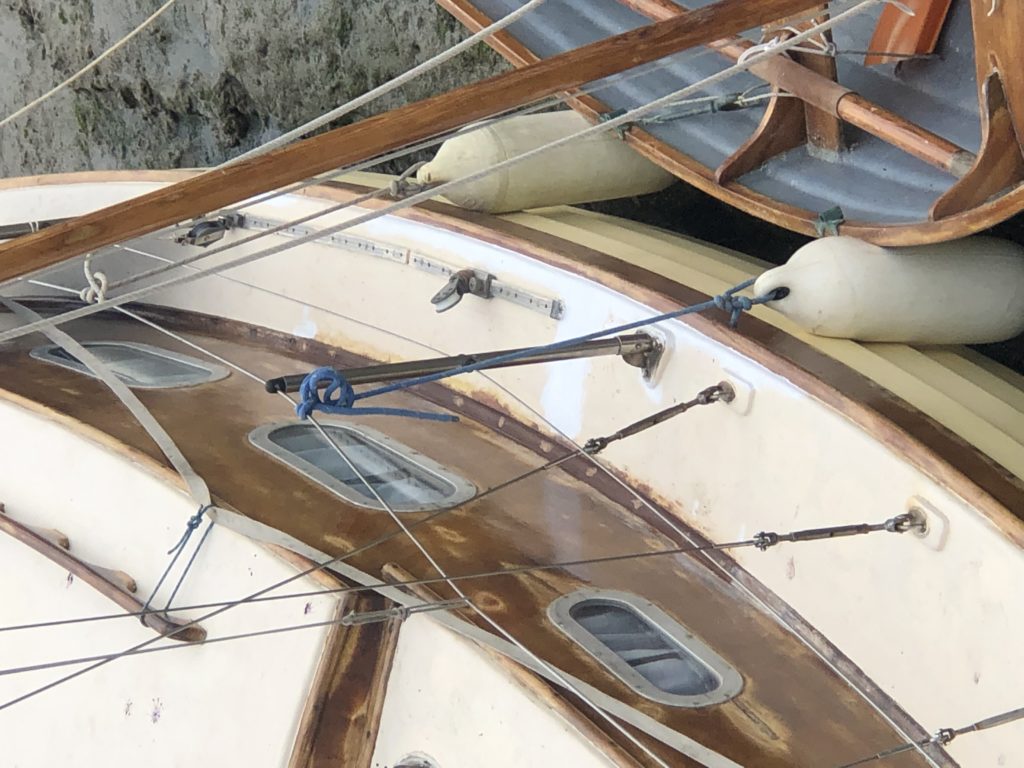
There was a ‘kick in the nuts’ to the job: I found that I had to re fasten the deck edge going forward of the stanchion. Also, the outer stanchion base fastenings go through into chocks behind the shelf strake set between the ribs.
Great. But, the chocks bare on the underside of the deck inside the sheer strake, thus inward pressure on stanchion was lifting the outer edge of deck which was not helped by failed/loosened fastenings.
I fitted a covering chock inside to go over the the infill chock and underside of the shelf. This was screwed to shelf and fastened through from sheerstrake. Pressure on the stanchion showed no movement if deck…
The edge was released and hardened up after application of runny epoxy before it had time to set off. Edge was then coated with thickened epoxy.
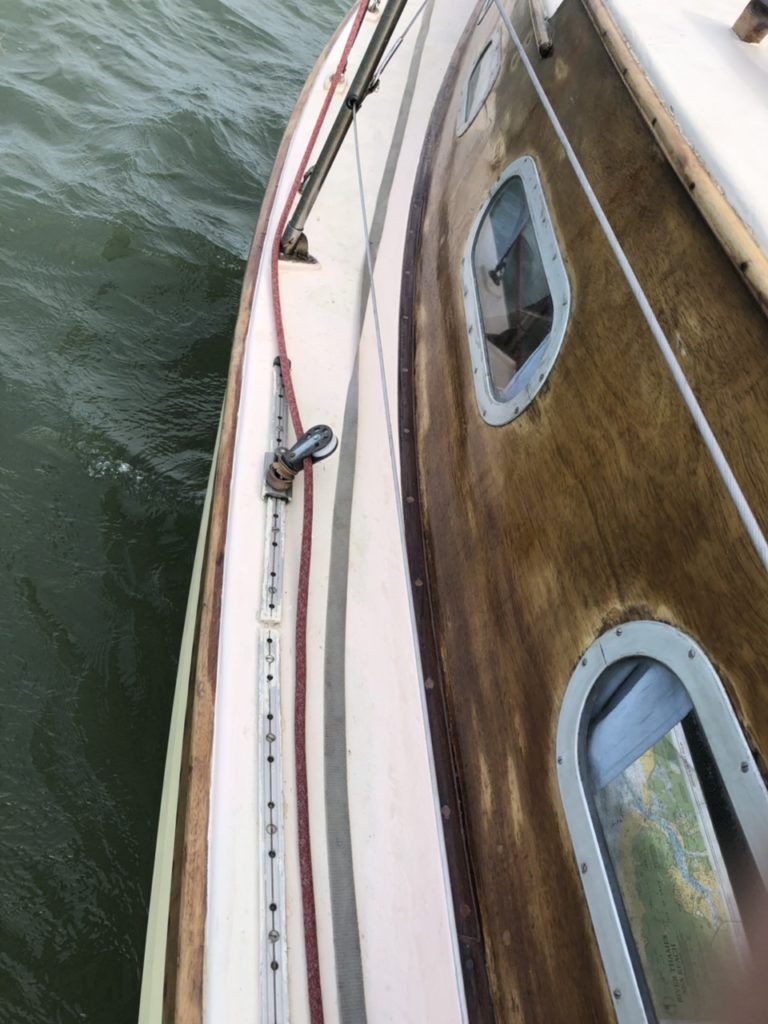
I shall be looking closely around the other five stanchions…
All is now painted and has been tested in the estuary!
